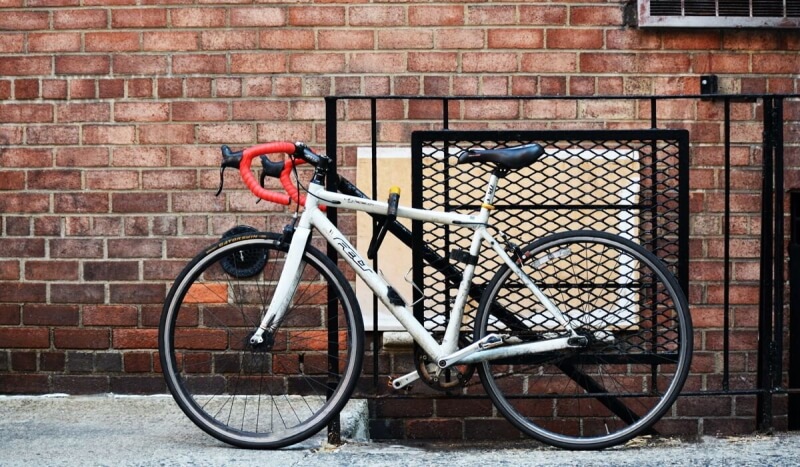
- Trails
-
Bikes
-
Gear
-
Tips & Tricks
-
About us


Tools for bike chain tightening
As mentioned earlier, you need the right tools to tighten the bicycle chain properly and correctly. But what tools do you need to fix the loose chain on a bike? We’ll mention every important tool you need below:
We recommend buying a toolset because you get access to different, helpful tools. The EPAuto Drive Socket Set is one great example of a high-quality toolset. The set contains a whopping 40 pieces of tools, mostly made from hardened chrome vanadium steel alloy (Cr-V) that is corrosion-resistant. Apart from helping with your bike, it can help with the maintenance of your cars, motorcycles, and trucks too.
Bike chain tightening by gear type
The importance of a chain in a bicycle cannot be overemphasized since it transfers power to the wheels, thus allowing your bike to move forward according to Wikipedia. Hence, if the bike chain gets loose, the next action is to tighten the chain on the bicycle.
Below, we’ll provide you with a simple and detailed guide on how to fix a loose bike chain on single-gear and multi-gear bikes.
Single
In case you don’t know, a single-gear bike, as its name suggests, is a type of bike with only one gear. Let’s get to learning how to tighten its chain.
Step 1: Place your bike in a proper position
Before you start to tighten your bike chain, the first thing to do is to get it in the correct position. Turn the bike upside-down in a way that the wheels are in the air and the saddle is on the stand. Don’t have a bike stand? Create a soft surface by either laying a layer of newspapers or a piece of a cardboard box on a flat surface to avoid scratching the saddle.
Or better still, find a bike repair stand on the market. According to most reviews, the sturdiest model must be the Park Tool PCS-9.2 bicycle repair stand thanks to its durable all-steel structure with textured powder coat finish for optimal stiffness. Once you get your bike in the right position, you’ll get easy access to the parts.
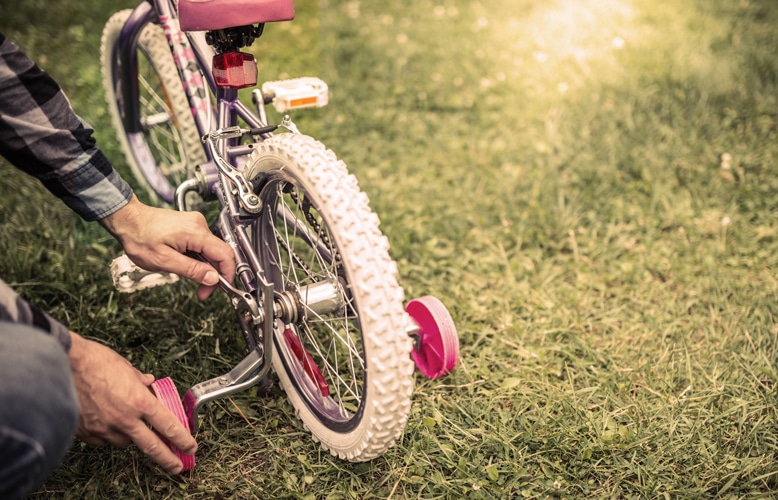
Step 2: Loosen the rear axle
You must remove the nuts holding the tire to the bike to be able to get the chain adjusted. Here, you’ll need a socket wrench to turn the axle nuts in an anticlockwise direction until they get loose.
Step 3: Retract the rear tire
It’s now time to retract the rear tire so that you can get the right tension in the chain. You should do this carefully and slowly to avoid snapping the chain. As you retract the tire, continue to check the tension until you achieve the right tightness.
Once you can move the chain either way at least half an inch, you’re good. (Sorry, we might have left out this important bit but know that your endgame is to ensure that the chain can move half an inch in both directions).
Step 4: Check the bike chain for the right tension
Pull the tire back and you’ll feel the chain tension change. Should it move too far in a direction, it means the tightness is not good. You’ll then need to push the chain a little more on the tire. But if it’s too tight, your pedals won’t turn so you’ll need to get this right.
According to a study by John Hopkins engineers, chain tension greatly contributes to bike energy efficiency. Specifically, the higher the chain tension, the higher the efficiency score. Hence, you must get the chain tension right.
Step 5: Tighten the rear tire back into place
Once you feel good about the chain tension, tighten the rear tire back into place. Use the socket wrench to tighten the loose axle nuts in a clockwise motion. If the tire is not touching the bike chain or frame, your job here is done.
Step 6: Test the tire and the chain
To be sure you’ve fixed the loose chain on the bike, you’ll need to test the tire and the chain. If you spin the tire and it doesn’t touch the frame or the chain, you’ve fitted it right. However, if it does touch any of the two, you’ll need to fit it again.
Once all these conditions are done, it’s time to get your bike back on the road.
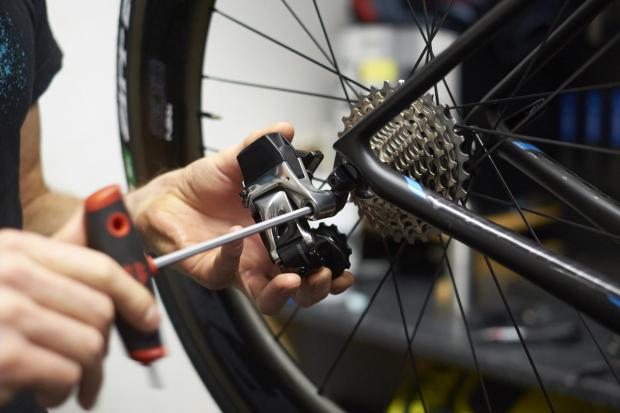
Multi
Since a multi-gear bike features a Derailleur, tightening its chain is a bit more challenging. Don’t be worried, we will simplify the process to help you learn how to tighten a bike chain with a derailleur.
Step 1: Place your bike in a proper position
Turn your multi-gear bike upside down so that you have easy access to the derailleur and the tire. If you couldn’t get a bike stand, create a soft surface to protect the saddle and the handlebars.
Step 2: Locate the derailleur screw
The next thing to do is to locate the screw at the back of the derailleur. Most multi-gear bikes have the screw next to a letter B so you’ll do well to check for that. Turn the screw in a clockwise direction to increase the bike chain tension.
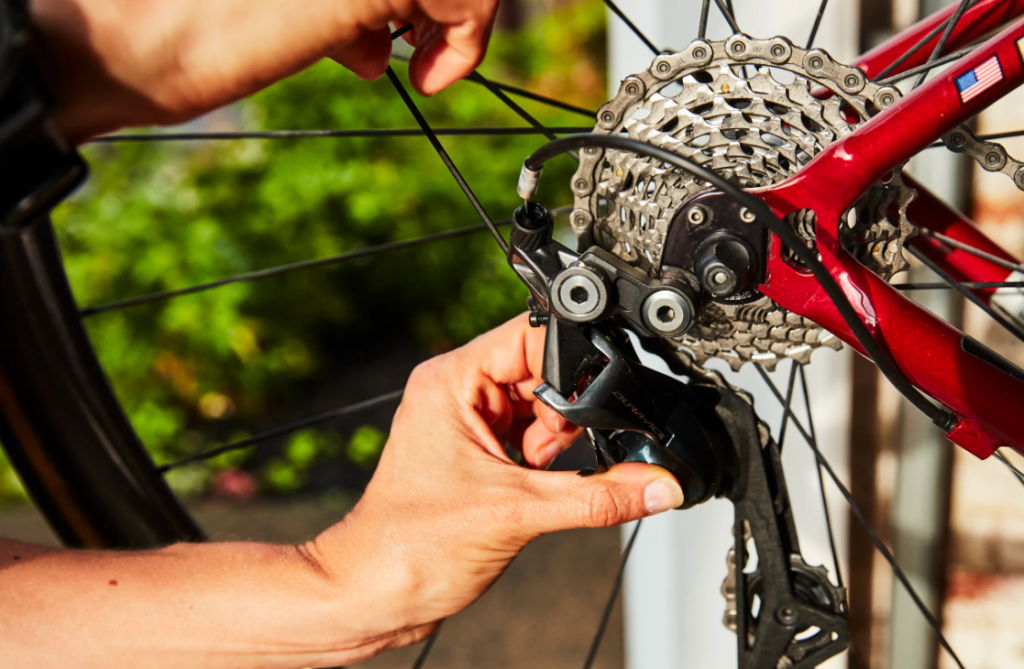
Step 3: Check the rear tire
Disconnect the brakes from the cable and lift the brake lever to gain access to the rear tire.
Step 4: Adjust the rear tire
Your mission here is to increase the tension on the chain. So, you’ll have to slide the rear axle toward the rear dropouts. Here, you should make only small adjustments to prevent the chain from becoming too tight.
Step 5: Couple everything back in place
Once you have the right chain tension, couple everything back together and make sure to properly tighten the derailleur screw. Also, ensure that the tire is spinning freely without having contact with the bike chain or the frame.