- Trails
-
Bikes
-
Gear
-
Tips & Tricks
-
About us


Your bike is bound to develop issues after using it for a while. One of the problems that you’re likely to experience is brake rubbing.
The main sign that indicates brakes rubbing is your bike moving slowly despite pedaling fast. Additionally, you may notice uneven wear on your bike’s brake pads. Fortunately, you can easily deal with this issue by yourself.
Are you experiencing bike brake rubbing issues? Worry no more. This article highlights easy steps to help you deal with bike brake rubbing. Let’s get cracking!
Generally, disc brakes are reliable and durable components. However, they may start producing a squealing sound when riding.
This problem normally occurs when the brake pads, wheel rim, or rotor come into contact with grease or oil. Another common cause is when the connection between the braking surfaces is misaligned. Poorly installed brakes can also make your disc brakes start producing noise. Finally, the noise may be a result of vibration.
Noisy disc brakes can be annoying. Therefore, you should look for ways to deal with the issue as soon as you notice it.
Disc brakes benefit immensely from occasional adjustment and routine maintenance. Here are the steps to follow when fixing the disc brakes for bikes on our best triathlon bikes for beginners review.
The first step when it comes to fixing your bike’s brakes is assessing the wheel. Start by turning your bike upside down, then place it on a stand for stability and better assessment.
Next, loosen the quick-release skewer and check if the wheel perfectly aligns with the dropouts.
Be sure to have a friend around so they can turn the wheel on your behalf, allowing you to concentrate on its placement.
Generally, your bike’s wheel should be in a straight sitting position in the dropouts. If not, you should realign the quick-release skewer.
This step is essential since it helps you deal with the brake rubbing issue. In the absence of it, you can begin inspecting and fixing the disc brake calipers.
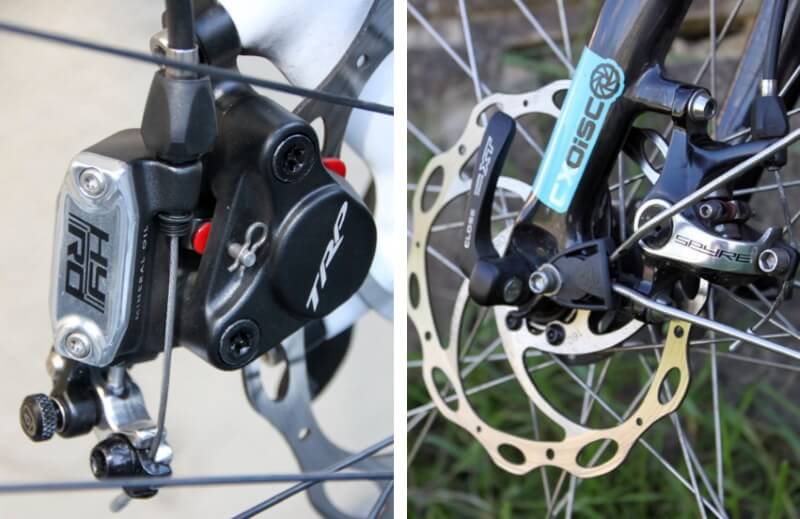
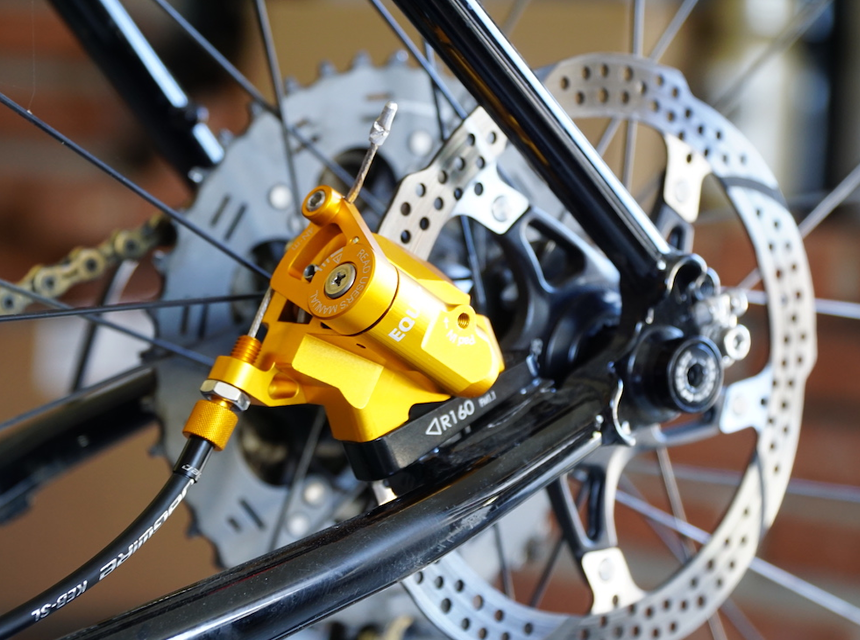
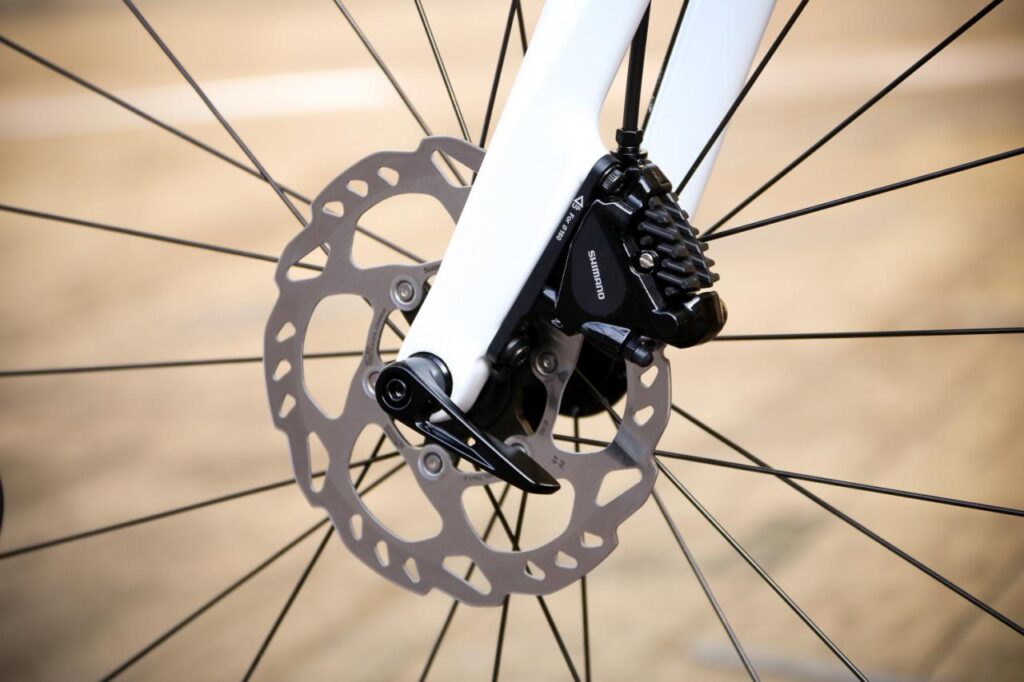
All bicycles that have a disc brake system like those in our best road bike under $2000 review also come with calipers. Therefore, you should first loosen your bike’s disc brake calipers.
The best way to go about this process is to twist the bolt to the left side to a certain degree, allowing you to adjust the disc brake caliper. You can also decide to remove the bolt entirely. However, it’s not advisable since you may easily misplace and lose the bolt. Also, returning the bolt to its original position can be difficult.
Different bikes have different disc brake calipers in different locations. You can find them on your bike’s frame or fork. Some bikes also have calipers on the dedicated disc brake adaptor. Therefore, it is important to check your bike’s handbook to know where the calipers are located to make your work easier and avoid wasting time.
The final step involves adjusting the disc brake calipers. Squeeze the brake levers while twisting the disc brake caliper. Tighten the disc brake caliber bolt again while maintaining a firm push on the lever.
Rotate your bike’s wheel severally to ensure the disc brake and wheel don’t come into contact. Sometimes, you may not be successful during the first attempt. Try several times until you get the right caliper position.
The process of fixing your bike’s caliper brakes is slightly different from that used to fix mechanical disc brakes. Let’s jump into the nitty-gritty of the procedure.
Before adjusting your bike’s brakes, evaluate the brake pads first. During this process, you need to examine the rubber pads affixed to each caliper point.
A good rubber pad should have deep grooves which enable them to grip the rim. If the brake pads have a smooth surface, they’re worn out. Some manufacturers also include tread wear indicators similar to those on a car’s tires on the rubber pad to show you when the grooves are worn out and need replacement.
If you realize your bike’s rubber pads are worn out, replace them immediately. Riding a bike with worn-out rubber pads is dangerous since they increase your chances of getting a bike accident Trusted Source Cycling - preventing injury - Better Health Channel Cycling is a cheap and convenient type of transport with very low environmental impact, and is an enjoyable physical activity for all ages. www.betterhealth.vic.gov.au .
After checking the condition of your brake pads, place your bike on a stand and rotate the front wheel without applying brakes to see if there’s rubbing. If any pads rub against the rim, even without pressing the brakes, your pads are not at the center.
Next, press the brakes as you rotate the front wheel. Take note of the point where the pads touch the rim. They ought to simultaneously grasp the middle of the bike rim.
You may also want to see if one pad causes the rim to move toward the opposite pad. If so, it means your bike’s brakes rub on one side.
Repeat this process in the rear system to check your bike’s overall condition.
If your bike’s brake pads rub on either the front or rear rim, center the brake pads. The first thing you should do is twist the wrench to the left to release the bolt connecting the brake pads to the caliper.
Carefully adjust the brake pads so that they are centered on the rim. As you do this, it’s important to check if the space below or above the brake pads is equal.
Once you successfully adjust the brake pads to the center, secure them in place and tighten the bolts so you can prevent them from moving.
Recheck your bike’s braking system by applying the brakes Trusted Source Science of Cycling: Braking | Exploratorium Brakes have improved as materials and engineering know-how have evolved. www.exploratorium.edu and turning the front and rear wheels. The only way to be sure that your bike’s braking system is okay is if you see the brake pads simultaneously pressing against the rim’s center.
Adjusting your bike’s brake pads may not fix the brake issue. If you find yourself in such a situation, it’s better to try and assess the brake cables too.
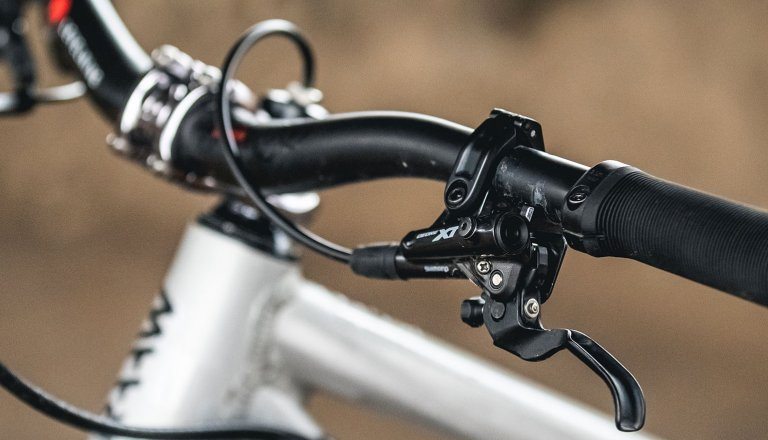
This process is quite simple. All you have to do is check the tightness of the brake cable by squeezing the brake lever and checking its distance from the handlebar.
You don’t have brake cable tension problems if there is at least a 1.5-inch distance between the lower part of the brake lever and the upper part of your bike’s handle grip. Nevertheless, you should increase the cable tension if the brake lever practically hits the handle grip.
Every bicycle including those on the best gravel bikes under $500 guide has a barrel adjuster close to where the cable meets the lever. To tighten the brake cable, twist the barrel adjuster to the right. On the other hand, if the brake cable feels too tight, twist it to the left.
The best way to do this is by turning the barrel adjuster in quarter-circle increments. Keep checking the brake cable tension after each adjustment to ensure you don’t tighten it too much.
Your bike’s brake calipers should simultaneously move when you press the brake lever. However, if only one caliper moves, you should reposition your caliper.
The brake caliper normally contains a spring-like device that lets two opposing ends move in the direction of the rim. When you handle your bike roughly, it may move, causing caliper issues. Check if the component is in the correct position and adjust it accordingly.
Use an Allen wrench or a similar tool to twist the caliper bolt to the left to loosen it without removing it. To loosen your bike’s caliper bolts, you can use a tool kit like the one from Navegando.
Pull the brake cord outward and secure it with your free hand to tighten the brake caliper and pads closer to the bike rim. If you’re satisfied with the caliper position and cable tension, tighten the bolt.
Testing your bike’s brake system is a simple process. Ask your friend to turn the pedals while pressing the brakes simultaneously. Stand in front of the brake calipers and watch how the cable, brake pad, and caliper operate.
If your bike still has an issue, you may need to replace your disc brake calipers. When buying disc brake calipers, look for one made with strong material for durability just like the TOBWOLF 1 Pair MTB Disc Brake Set since it’s made from stainless steel.
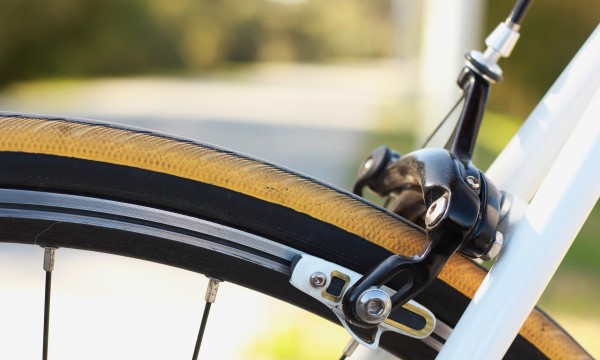
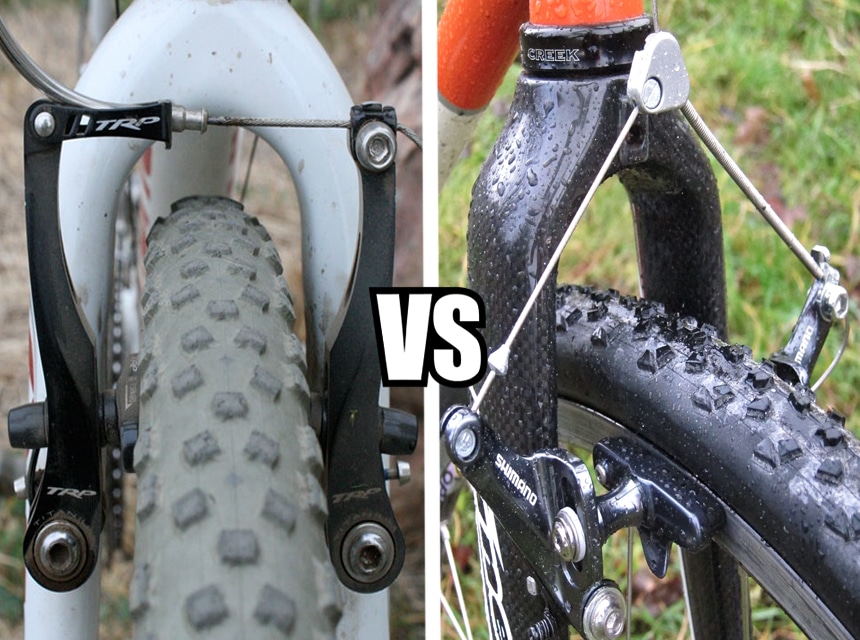
Fixing your bike’s cantilever brakes is necessary for a smooth cycling Trusted Source Cycling - health benefits - Better Health Channel Cycling can help to protect you from serious diseases such as stroke, heart attack, some cancers, depression, diabetes, obesity and arthritis. www.betterhealth.vic.gov.au experience. Here are the steps to follow.
Adjust the levers to correspond to the angle of your riding arms by loosening the clamp. After determining the right angle, tighten the clamp.
The position of your bike’s wheel also affects the position of the brake pads. Check if the wheel is correctly centered in the frame and ensure the axle is completely and firmly attached to your dropouts. You may need to check your dish if your wheel is still misaligned.
Loosen the bolt on the fixie’s brake arm and firmly tighten the barrel adjuster on the lever. Remove the brake pads from their mounting posts and inspect their condition. Replace the pads if you notice any metal protruding through the surface. If not, use sandpaper to resurface them.
Brake cable adjustments are much simpler when you use a cable puller. With the brake pads removed, readjust the brake cable so that both fixies are parallel, pointing upward and downward, and then tighten them. Brake cable adjustments are simplified when using a cable puller.
Return the brake pads to their normal position while making sure the pad face is flat on the rim. Tighten the pads into place so they can be firm but loose enough to leave room for movement.
Check from the side to ensure the pad is flat on the rim’s braking surface, not touching the tire or protruding from the rim’s base. If you notice any of the issues, the pads are too big for your rims, and you may need to get narrow ones.
When applying the brakes, adjust the cantilever brake pads so that the front of the pad contacts the rim before the back. This technique, commonly known as toe-in, prevents your pads from squealing.
For proper toe-in adjustment, leave some space at the back of the pad where the front part of the pad touches the rim. Wrap a rubber band at the back end of the pad to help with spacing. Always remember to remove it once you’re done.
Some bicycles feature a connecting device that automatically adjusts the position of the straddle wire. Always tighten the carrier in the lowest position possible while allowing space for your crossover cable, tire, and fenders when using a carrier design with a pinch bolt.
Pull the cable via the pinch bolt and tighten it to regulate its tension on the braking arm. You’ll need to experiment with this adjustment severally until you feel your brakes are comfortable. Ensure that the space between the two pads is equal and that they are not pushing on the rim.
On the left brake arm, there is a screw that controls the spring tension on one side, helping you make minor centering adjustments. Tighten it clockwise to move the right pad away from the rim and anticlockwise to bring it closer.
Bicycle brake system failure is a serious problem. When it occurs, it may result in severe injury or even death. Luckily, you can reduce the risk of bike accidents by learning how to fix the brakes. Go through our post to learn how to fix the bike brake rubbing issue in simple steps and avoid bike accidents.
