- Trails
-
Bikes
-
Gear
-
Tips & Tricks
-
About us


Your bike chain is a significant part of your bicycle that requires regular maintenance because it is virtually responsible for the mobility of your bike. Apart from aiding the bike’s movement, the chain also helps with balancing. Hence, you must clean it regularly and properly to safeguard your bike’s health. Besides, buying cleaning products at the store can be expensive so it’s more cost-effective to settle for household products.
In this article, we’ll tell you all about how to clean a bike chain with household products to help you save a few dollars and also keep your bike chain healthy. You’ll need to use household products to formulate a cleaner and degreaser. So, we’ll provide you the recipes to get them done. Moreover, cleaning a bike chain with household products requires following a set of instructions. Read on to find the steps you must follow to get the best results.
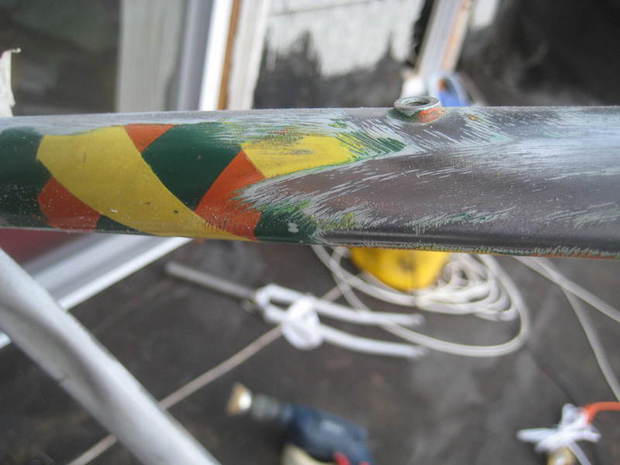
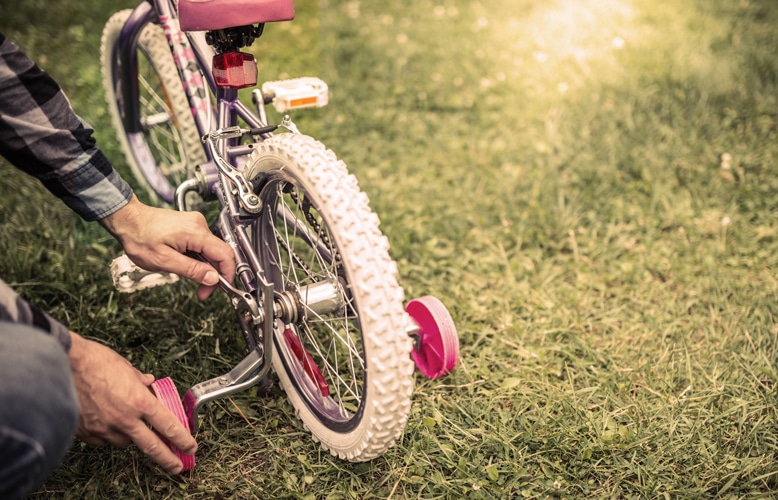
A dirty and rusty chain on a bike can have a number of negative impacts on the performance and longevity of the bike. The dirt and rust that accumulate on the chain can cause friction and wear on the chain itself as well as the gears. This can lead to a less smooth ride, as the chain may not move as easily through the gears. Additionally, the increased friction and wear can cause damage to the chain over time, potentially leading to the need for costly repairs or replacement. The rust can also cause the gears to slip, making it difficult to shift, which can be frustrating for the rider and can make it harder to maintain proper speed and control. To avoid these issues, it’s important to keep the chain clean and lubricated regularly, which will help to prevent rust and prolong the life of the bike.
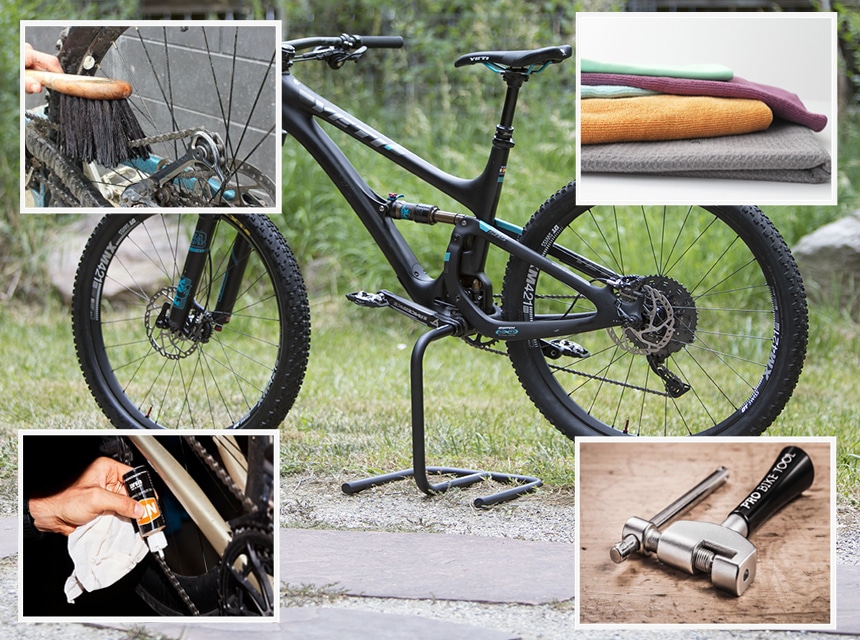
To clean your bike chain at home, you’ll need a couple of tools and materials. We’ll list them below:
Some people use kerosene as a degreaser which is effective but the smell isn’t great. You can do better by formulating a natural degreaser at home. Besides getting yourself a natural solution, you’ll also be saving costs. Below, we’ll discuss how to make a degreaser for a bike.
Pour sodium bicarbonate, lemon essential oil, and warm water into the spray bottle. Shake the mixture gently until you’re satisfied and you have yourself a homemade bike chain degreaser.
With our DIY cleaner recipe, you can ditch the unsafe chemicals. The recipe includes distilled white vinegar with a 5% concentration of acetic acid which could be harmful to your bike chain. But if you use it with caution and rinse it properly, you have nothing to worry about. Let’s get you the full recipe below:
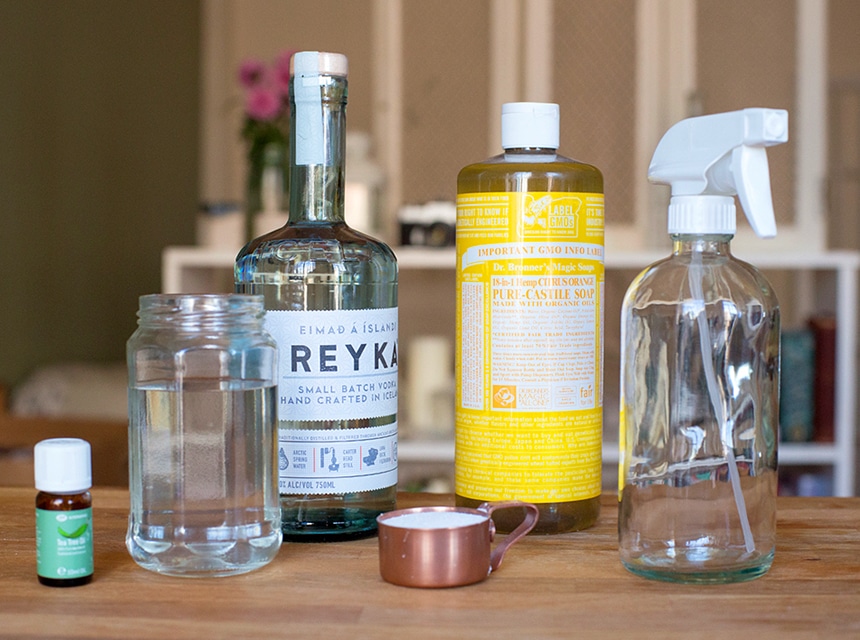 ½ cup of distilled white vinegar
Add the distilled white vinegar, essential oil, Castile soap, and water to the spray bottle. Shake the bottle gently until you’re satisfied with the mixture. You got yourself a DIY bike chain cleaner.
When cleaning your bike chain with household products, there are certain precautions you must take for your safety and that of the chain. Below are some safety tips you should follow:
According to the University of Kansas’ Center for Sustainability, riding on a dirty chain causes unnecessary wear and tear to your chain. So, you should take the cleaning seriously. Below, we will explain the step-by-step instructions for cleaning a bike chain at home:
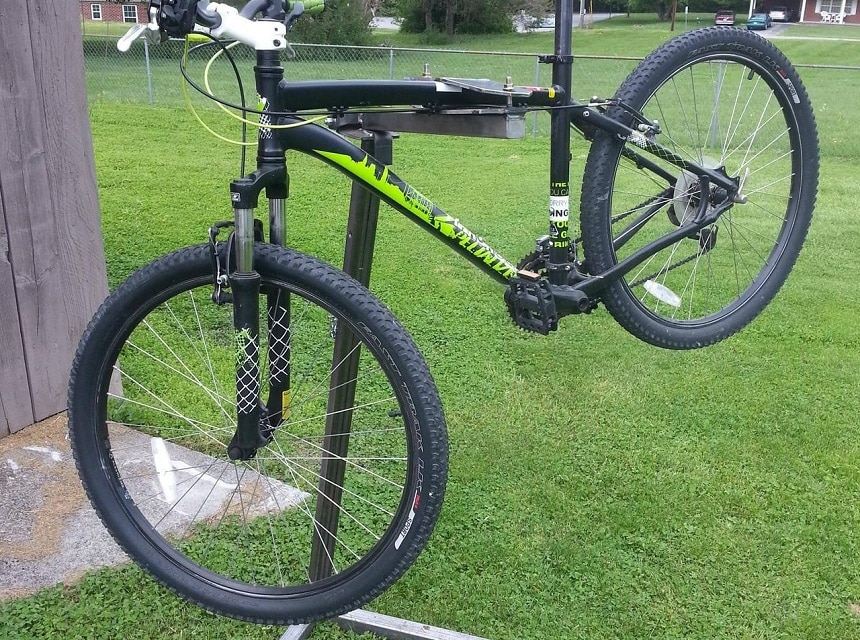
The first thing to do on your way to cleaning your bike chain at home is to secure your bike on the stand. Securing your bike on the stand also makes it easy for you to inspect and remove the chain.
If you don’t have one, we recommend the lightweight, portable, and well-designed Bikehand Bike Repair Stand. It boasts a fully rotatable head as well as a heavy-duty teeth and clamp that can hold a maximum of 55lbs (25kg) bike at any angle. Plus, this stand’s height can be adjusted to suit your working position.
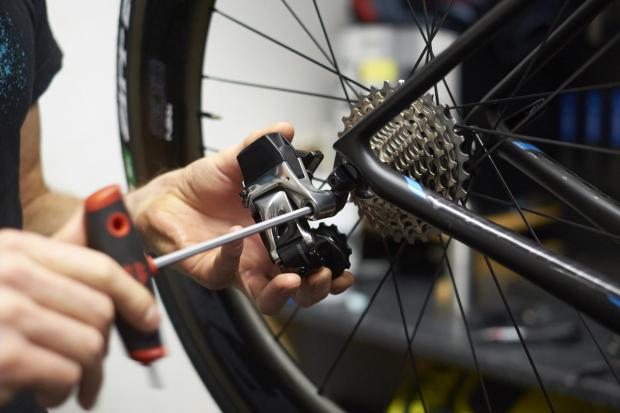
After securing your bike on a stand, the next thing to do is to inspect the chain. Here, you’re looking for dirt and debris picked up during rides so that you can know where to pay attention to during cleaning. You’re also looking for any damage to the chain, whether it is broken or loose.
If you’re having trouble checking the chain links, we advise that you enlist the help of the high-quality Park Tool CC-2 Chain Checker which quickly and correctly determines the wear of most single-speed and derailleur bike chains. Essentially, the tool tells you if it’s time to replace your chain or not. If it needs replacement, then there’s no need to bother cleaning it.
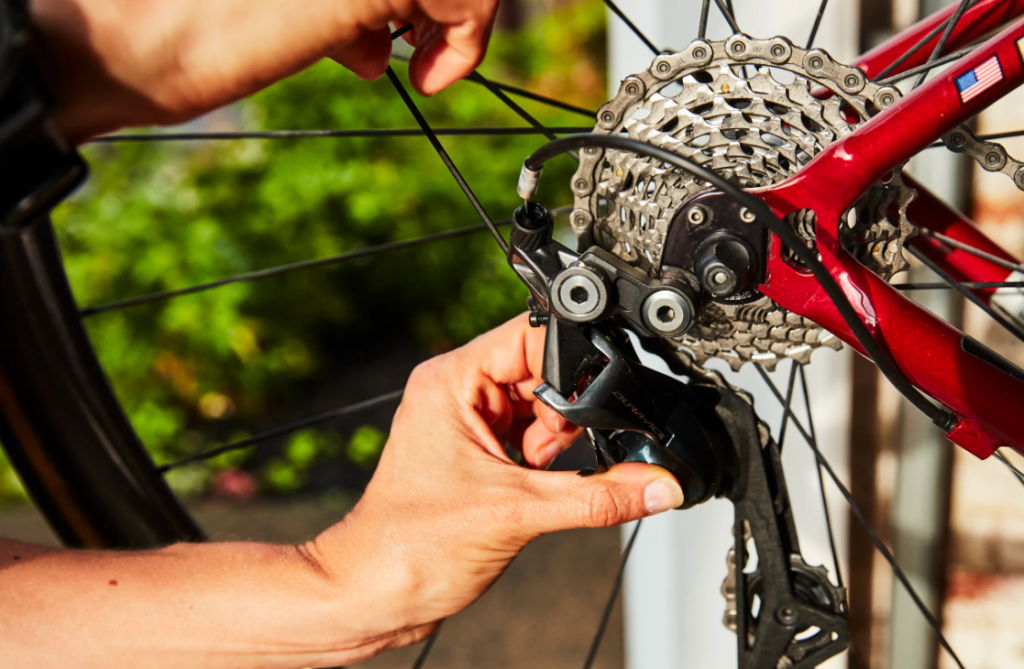
Now, it’s time to remove the bike chain for cleaning. Before you can take it off, you’ll need to find the master link – a quick-release link that helps you to easily disconnect and connect the chain without needing the chain tool. Break the quick link to remove the bike and if it doesn’t have one, get the chain tool to “break” the chain.
After getting the chain out, it’s time to get to work and degrease it. Pick up your homemade chain degreaser bottle and spray the chain directly. Ensure that the degreaser covers every part of the chain for the best results. Let the household degreaser for bike chain stay on for some minutes before you rinse it with hot water.
If the amount of debris or grime is high, your bike chain may need a second treatment of the solution for a deeper cleanse.
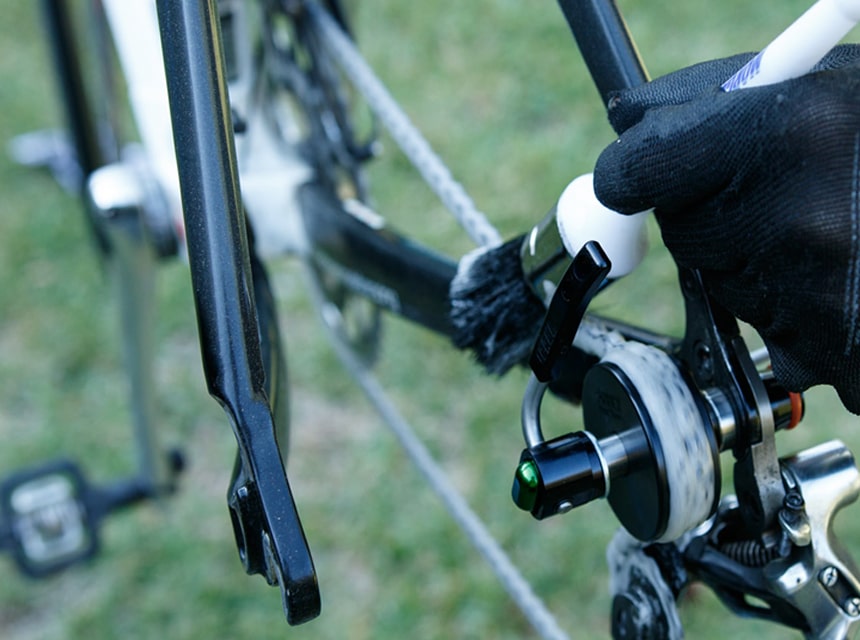
Get your homemade cleaner out for the next step. Spray the entire length of the chain with the cleaner and scrub all of its links with your chain-specific brush or a toothbrush. You can even rotate the bike’s rear tire until you can access all the links in the chain. Ensure that the chain is thoroughly and completely clean before you rinse it.
After degreasing and cleaning the chain, give it a good wipe-down to get rid of any excess motion and leave it to dry for about 1 hour.
Once you’re satisfied that the chain is completely dry, it’s time to reinstall the chain. Find the master link and reconnect the chain. If you’d used a chain tool to remove the chain, use it to insert the removed pins.
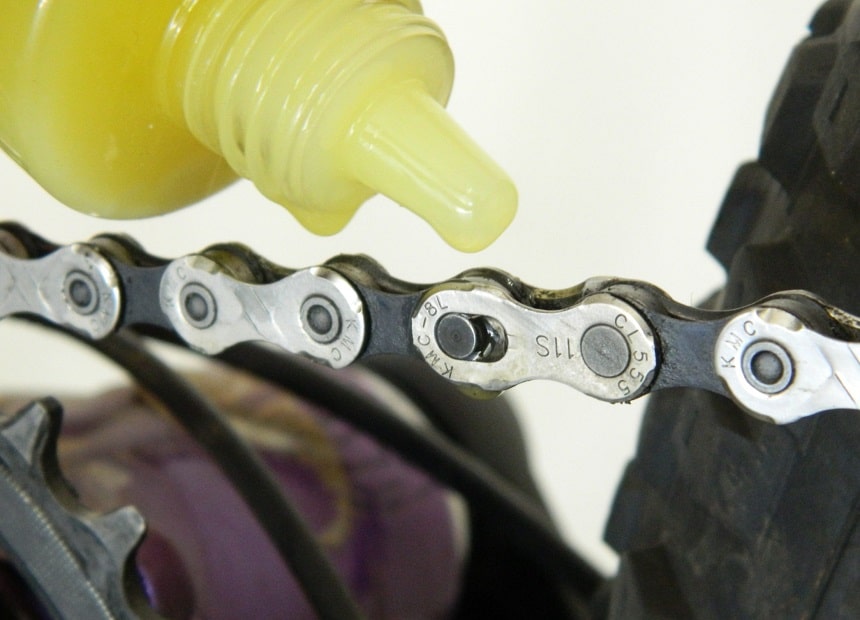
Once you’ve installed the chain back, you need to lubricate it with a good-quality bike lubricant to ensure that it runs smoothly. Hold the lube’s bottle above the top middle pin of the chain and squeeze out a thin stream of lube onto the chain as you spin your pedal to rotate the chain. Ensure that the chain completes a full rotation and you’re ready to go!
If you’re having trouble finding the right lubricant, thousands of buyers suggest that the Finish Line Dry Bike Lubricant is the ultimate fit for lubricating a bike chain as well as other important parts of a bicycle. Apart from that, this lube is designed for riding in a dry, dusty, and dry environment even though it holds up fine in moderately wet conditions.
Before you hit the road, you should check if the chain is installed correctly. How do you run this test? By making a few pedal rows. If you were able to complete rotations smoothly, then your work is done. If not, you’ll need to reinstall the chain correctly.
Since your work is done, cleaning up is the next thing. Ensure that you wash your hands properly, even if you used gloves.
Once your hands are washed clean from the mess, it’s time to hit the road again – this time – with a clean and well-lubricated chain. Before you hit the road, do a test run around the block first to get the chain warmed up. And when hitting the road, ensure that you wear the necessary safety equipment to protect yourself as advised by the United States National Highway Traffic Safety Administration.
Sodium bicarbonate is commonly known as baking soda or bicarbonate of soda, and is widely used in food recipes and much more. It is one of the ingredients of the DIY bike chain degreaser, which we wrote about above.
Yeah, there are a few. For example, you can take a look at the Park Tool Chain Gang Cleaning System, which incorporates everything you need in such a product: a chain scrubber, a gear brush, and a degreaser itself.
Generally speaking, yes. A homemade dirt bike cleaner requires to contain stronger cleaning agents to effectively remove all the tough mud, dirt, and grim that can accumulate on a dirt bike. So in this case, a bigger concentration of distilled white vinegar and liquid soap is necessary for the dirt bike and its chain to be clean and working properly.
No, it is not recommended to make a homemade motorcycle chain cleaner as it may not be as effective or safe as a commercial chain cleaner specifically designed for motorcycle use. It may also damage the chain or cause other issues with the motorcycle. It is always best to use a motorcycle chain cleaner specifically designed for the task and to follow the manufacturer’s instructions for use.
It makes no financial sense to spend extra dollars on products that you could make in the comfort of your home, in this case, degreaser and cleaner. As you’ve seen in this article, you can use natural household items to formulate effective degreaser and cleaner to clean your bike chain at home. By cleaning your bike chain, you’re ensuring maximum efficiency and performance when you’re out riding.
Besides, our guide contains everything you need to know about how to clean a bike chain with household products. It also includes the step-by-step instructions to get the job done seamlessly. We hope we answered your question of how to clean a rusty bike chain with household products by creating this article.