The Arroyo Seco is a little-known gem in Pasadena and runs almost parallel to the El Prieto Trail in the area. If you’re from Los Angeles or Pasadena, this is one of the more covered trails in the area, and you get shade for about 60%-70% of the trail. You’ll just have to tough it out for the rest of it. Nevertheless, it’s an intermediate-level trail, although a beginner with the stamina to ride all seven miles could probably hack it if they get off their bike in the few technical spots.
Before you go:
Detailed Trail Description
The Arroyo Seco trailhead can be found on N Windsor Avenue, just a short distance to the north of the intersection between N Windsor Avenue and Mountain View Street. There should be available parking at the NASA Jet Propulsion Laboratory near the trailhead, and for the first mile or so, you’ll be on a paved road.
After that, you go through a cracked section of pavement before you end up on singletrack. You’ll want to avoid taking the trails to your left while on the pavement. You’ll also have to go through a yellow gate, so be on the lookout for that so you know you’re on the right track.
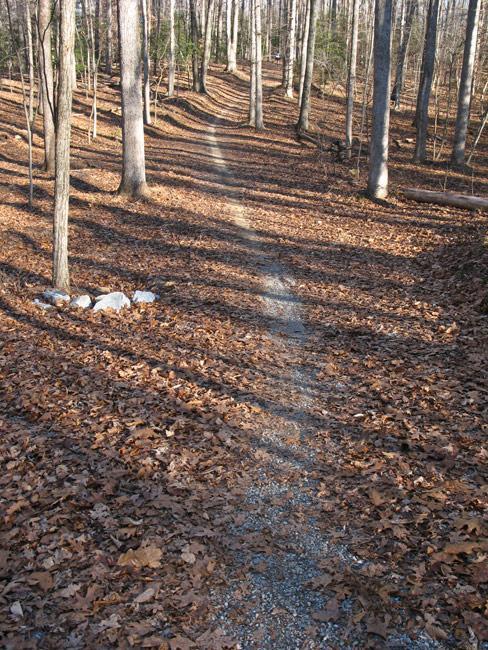
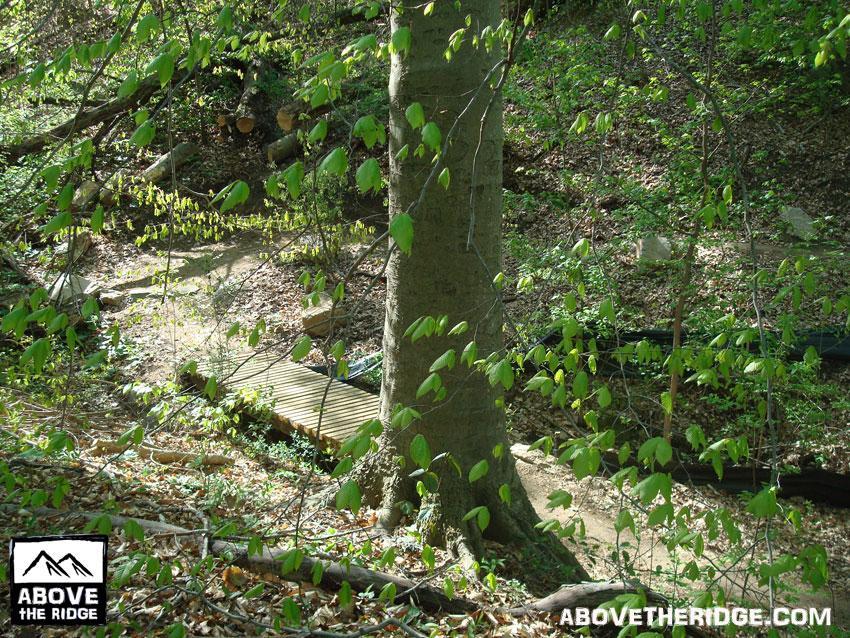
We went through the Gould Mesa Campground, where you should find some restrooms if you really need to go. After that, it’s a flowy section of singletrack dirt before crossing a bridge. After that, you get to the “meat” of the trail with optional technical sections that merge right back into the main trail.
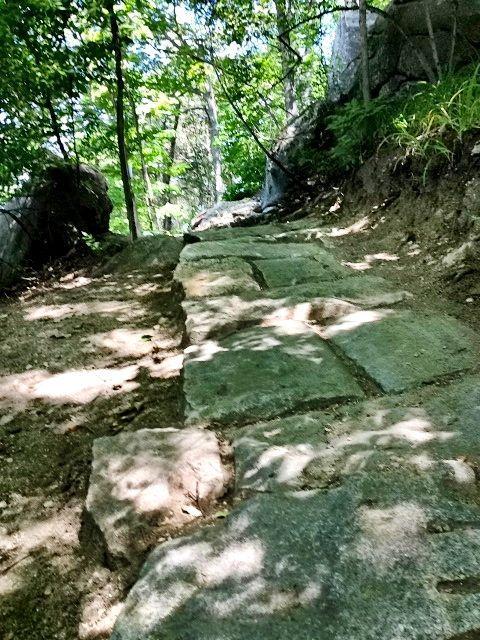
You’ll go through several creek and stream crossings, leaving your tires wet and slick. This can make the rocky sections that follow a little harder to go through, but it should be manageable for intermediate-level riders. If you’re unsure of yourself, you can get off your bike and push it through these areas before you get back on.
Also, depending on the day, you may have to go around or get rid of rock obstacles in the middle of the track. Once you reach the Brown Mountain dam, it’s time to turn around and head back to the trailhead. Going back should be significantly easier and flowier, given that it’s mostly downhill.
Additional Trail Features
- Extra fees: There are no extra fees for using the trail or parking.
- Obstacles: There may be some rock obstacles along the way, with technical sections that also require you to get off the bike.
- Shuttles: You’ll have to make it to the dam and back since there are no shuttles on the trail.
Sights of Interest, Landscapes, Views
There should be a great view of the hilly landscape from the pavement section of the trail.
Recommendations and Precautions
Higher traction bike tires may come in handy when going over the rocky sections just after the stream crossings. However, if you keep slipping, consider getting off your bike and hiking through.


 10 mi
10 mi