- Trails
-
Bikes
-
Gear
-
Tips & Tricks
-
About us


Everyone knows that wearing a bicycle helmet is a necessary safety requirement for each and every rider, no matter what type of riding you are participating in. However, not everyone knows how to clean a bike helmet properly. Some riders have probably never taken the time to wash their helmet, which is a big issue. Not only will it start to look funky over time, but it won’t stay together or last as long. Thankfully, cleaning a bike helmet is an easy process to carry out. Even better, it barely requires any sort of supplies either, so this is not a very expensive process. This handy guide will take you through all the necessary steps to correctly and effectively clean your bike helmet.
In this section, we will go through all of the different details that you need to follow to make sure that you not only keep your helmet clean but also keep it working correctly for years on end.
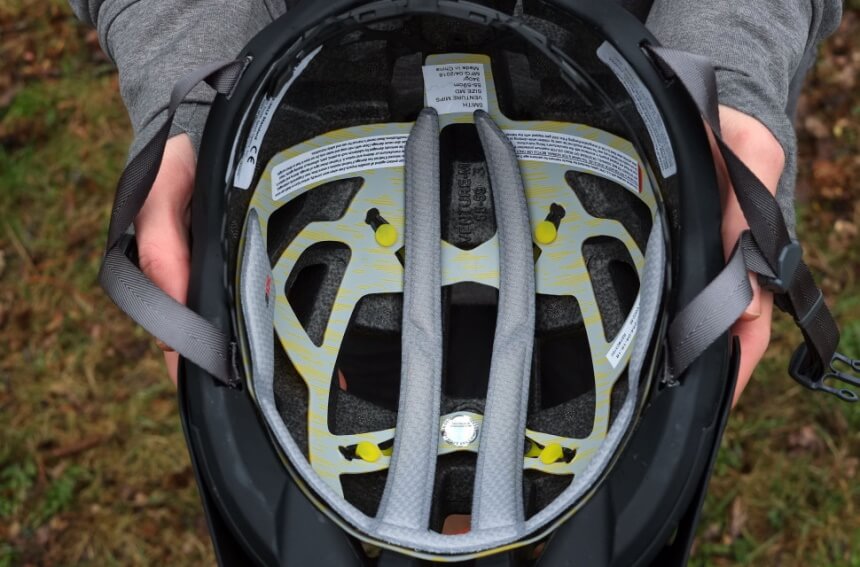
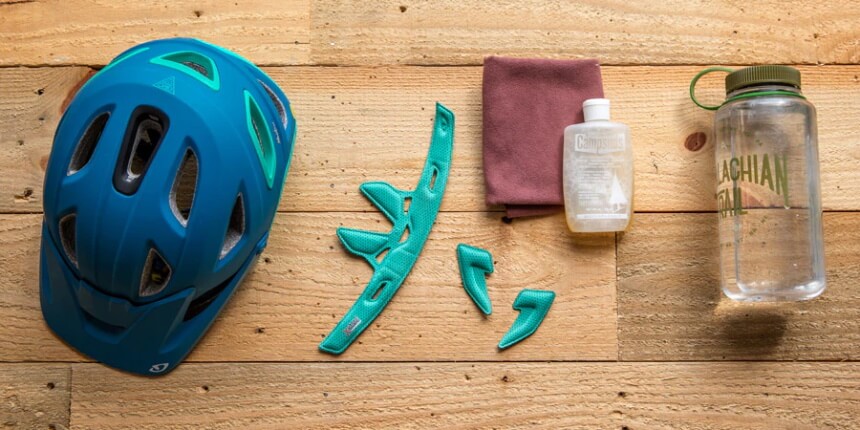
The inner padding, or liner, on a bike helmet is designed to make the helmet as comfortable as possible while you are riding. Of course, the issue with these pads is that they soak up all of your sweat when you are taking a strenuous ride. Thankfully, these pads can be removed. They usually fasten into place with Velcro, snaps, or straps. These need to be undone based on the manufacturer’s recommendation. Once the pads have been removed, you can take the time to clean them thoroughly.
Be careful when you are removing the pads, however. You need to make sure that you know where each piece will go again once you reassemble the helmet. Some of the pieces will only fit in one configuration, so be sure you have a clear understanding of the correct order before you remove the pads.
There are a couple of different ways that you can go about washing your pads. The best method we have found is to clean them with cold water, a sponge, and lukewarm water once the pads are removed from the helmet. This will allow you to clean out any acquired sweat or grime without doing any damage to the pads themselves. Just be sure to use a gentle soap, such as dishwashing liquid, to get the job done.
You can also wash your helmet liners inside the washing machine.
We do not recommend that you do this all of the time, as it can cause the padding to separate if done too often. But, if you are in a hurry to get your pads washed, you can run them through on a gentle cycle that only uses cold water. Obviously, you need to run the pads alone without anything else in the washing machine.
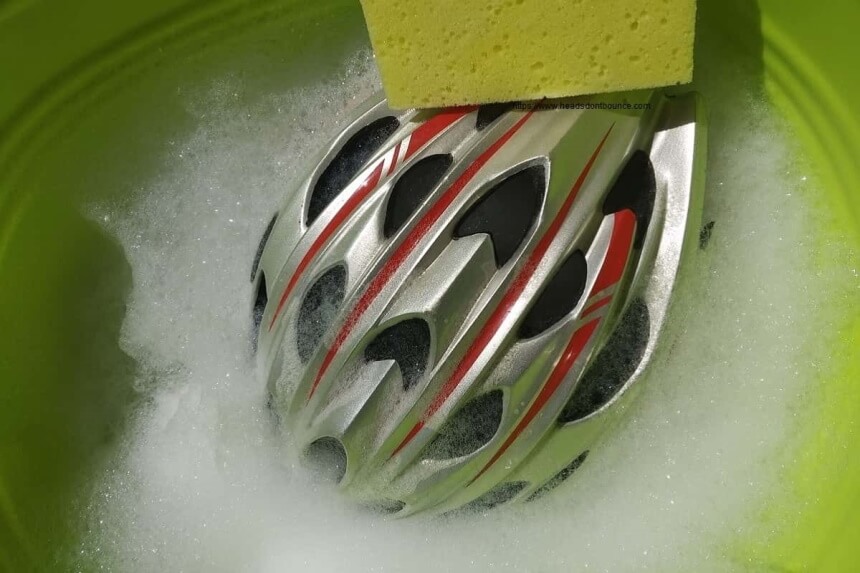
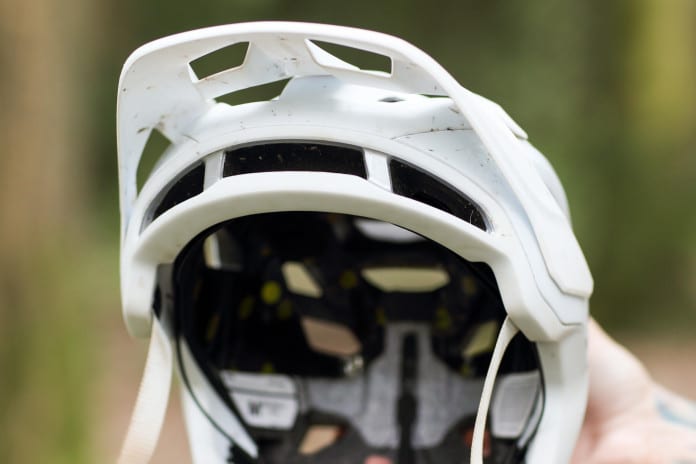
Once the padding inside of the helmet has been properly cleaned, you can take the time to wash the outer shell of your bike helmet as well. This is a very easy process.
All you need is a bit of warm water mixed with your favorite gentle soap. The best we have found is dishwashing soap.
Once you have your cleaning mixture all ready to go, simply wipe down the shell to remove any accumulated dirt, grime, or other filth. Once you have cleaned the shell completely, you can rinse it off with cold water. You can submerge your helmet if you wish to rinse off the soap residue, but this will slow down the drying process quite a bit.
In fact, you can even take your helmet in the shower with you if you desire, as this will cut down on how much water you use.
DO NOT wash the shell of your helmet in the dishwasher or washing machine. This will completely ruin your helmet, which is the last thing that you should want.
Once you have thoroughly washed the helmet, take the time to inspect it as well completely. As you are inspecting the helmet, be sure to look for any cracks or problem areas. If there are many of these, it might be time for you to get a new helmet that fits your riding style Trusted Source Definitions of Bicycle Helmet Types These are descriptions of the typical helmet in each category. We also have a page with definitions of helmet terms. helmets.org .
After all, the entire point of a helmet is to keep you as safe as possible Trusted Source Bicycle Helmet Safety All bike riders should wear bicycle helmets, especially children. This article offers tips and suggestions on how to pick the right helmet. my.clevelandclinic.org . A cracked helmet won’t do you much good.
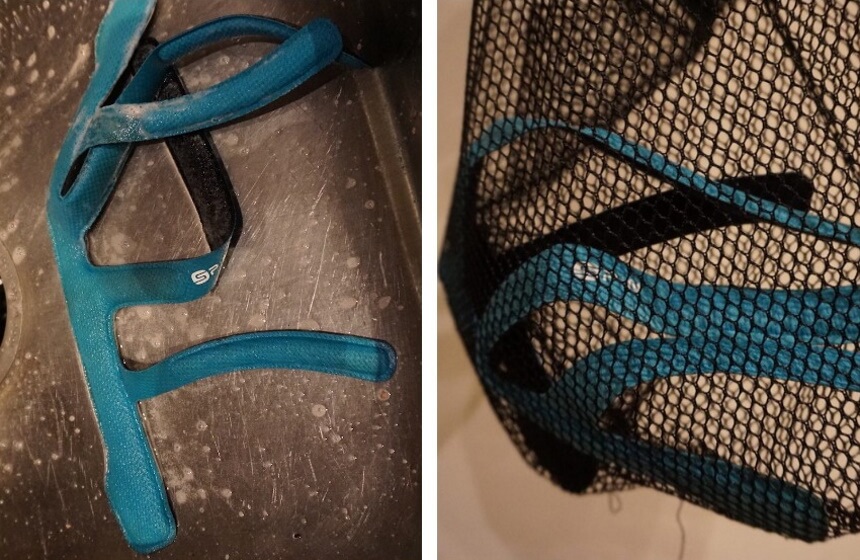
You also want to make sure to check out the straps for your helmet as well. If they are becoming difficult to adjust, make sure to clean these bicycle helmet straps as well as you can so that they move easily.
Also, be sure to look for any signs of fraying, as this could cause the helmet to become ineffective in the event of a crash.
After all of the parts of the helmet have been washed as thoroughly as possible, it is time to let them dry. We recommend that you do this in a space that is clean and doesn’t get too warm.
You also want to avoid any spots that are in direct sunlight, as this can cause the helmet to break down over time. This drying process will usually take a few hours but can even extend overnight if you choose to submerge your helmet during the rinsing process. So make sure you disassemble and wash your helmet so that you have enough time to let it all dry out before you try and put it back together.
As we mentioned before, cleaning a bike helmet is not something that needs to be done after every single ride. In fact, there is no one-size-fits-all approach to cleaning a bicycle helmet. The general rule to follow is that a helmet should be washed every three months, much like keeping a clean bike. Of course, this is only if you ride your bike on occasion.
If you are a more serious rider, you should probably clean it more often, especially if it begins to look a bit funky or give off a pungent aroma. You should also take the time to clean your helmet if you are riding a dirt jump bike or a gravel bike.
If you’d like to update your bike for a future extreme trip, consider our lists of the best dirt jump bikes and the best gravel bikes. These types of riding conditions will most likely make you and your helmet filthy and in need of a good cleaning.
In this section, we will give you some handy tips to make cleaning your bike helmet as easy as possible. That way, you will be sure to get a nice and clean helmet each and every time you wash it.
As we mentioned above, you are more than welcome to utilize the washing machine, in a cold, gentle setting, for the inner pads of your helmet. You CAN NOT, however, use the washing machine on the shell of the helmet. If you do, you are sure to destroy the helmet and render it completely unusable. Even if you choose to wash your pads in the washing machine, we don’t recommend doing so often. Even on a gentle cycle, the roughness of a washing machine will cause your pads to age much quicker than if you wash them by hand.
The last thing you want to do when cleaning any part of your helmet is to use harsh chemicals. Not only are they bad for your helmet, but they can be bad for you as well Trusted Source Household Chemical Products and Their Health Risk Common household items such as cleaners, detergent, auto supplies, and paint may contain dangerous chemicals. Here are tips for storing and handling these substances safely. my.clevelandclinic.org . These chemicals will cause the different adhesives that are used to keep the helmet together to break down, which will, in turn, cause the helmet to fall apart. Obviously, this would be less than ideal.
Even if you use a very basic bike helmet cleaner, it could have a deleterious effect on your helmet. Even if the helmet is completely filthy from a ride through rocky terrain, we highly recommend using simple dish soap to clean it. By the way, for those who love riding through rocky terrains, we’ve made the list of the best mountain bikes.
Though we have found that our guiding tips will work with most bike helmets, it is still a good idea to look at the manufacturer’s recommendations for how to clean them properly. After all, if you get a high-quality helmet, like this model from Abus, then you should definitely follow their cleaning routine. This will help to ensure that your helmet not only keeps you as safe as possible when you are out on your rides but also looks and smells great too.
As we said before, you can submerge your bike helmet if you wish to rinse off the soap. This should not be done for a long period of time, however. If the helmet is under the water for an extended time, you can cause two different issues.
The first problem, which is not too severe, is that the helmet will take a bit longer to dry before you can wear it again. The second, and much more consequential issue, is that it could cause the adhesives that hold the helmet together to weaken. This could, in turn, cause the helmet to age significantly before its time, which would require you to get a new helmet before you really need one.
If you own a bike, then you definitely need to own a helmet as well. As with your bicycle, you will occasionally need to clean your helmet as well. If you do not, it will break down much too quickly. It could also give off a pungent aroma as well, which is never a good idea. Thankfully, this can be fully rectified by simply understanding how to clean a bike helmet, which we hope that you understand now after reading through this guide. Now get out there and get riding!