- Trails
-
Bikes
-
Gear
-
Tips & Tricks
-
About us


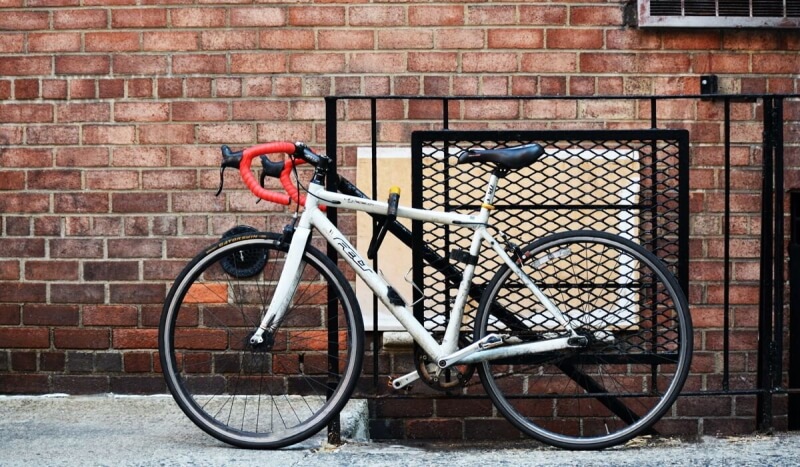
If you are looking to paint a bicycle, you’re in the right place. You may have found one that needs a makeover from top to bottom. An old beat-up bike can be rideable again if the framework isn’t busted up too much. If there is some aesthetic damage to it, there’s a good chance that it can be salvageable.
In this write-up, we’ll be talking about the reasons you should paint your bike. We’ll also give you a step-by-step guide on how to get it done, complete with the tools and materials you need. This is a great do-it-yourself project for anyone that might be up for the task. If you’ve always wanted to restore a bike, you might find painting a bike to be quite enjoyable for you. Now, let’s dive right in and discuss the reasons why you should paint a bike that you can ride as soon as the paint is done drying.
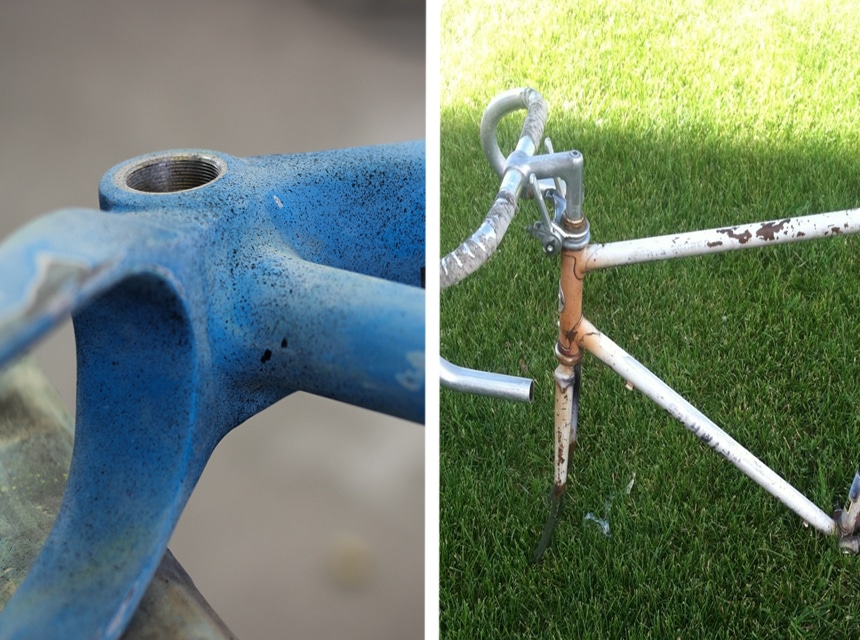
The paint may be cracked, peeling, and it looks unsightly all around. What people don’t realize is that in the shape that it’s in, it can be salvageable. It would be a mistake to throw it out unless it was rendered useless in some way (like a badly beat-up frame).
Repainting your bike Trusted Source Cycling Benefits: 12 Reasons Cycling Is Good for You Cycling is a low impact exercise that can help you manage your weight as well as prevent health risks. It’s good for beginners and advanced athletes alike. www.healthline.com to its original restoration may be something you want to do, especially when you want to bring back the memories of ages past. The nostalgia factor is one good reason why you want to paint the bike, so it looks like the new bike it was back in the day.
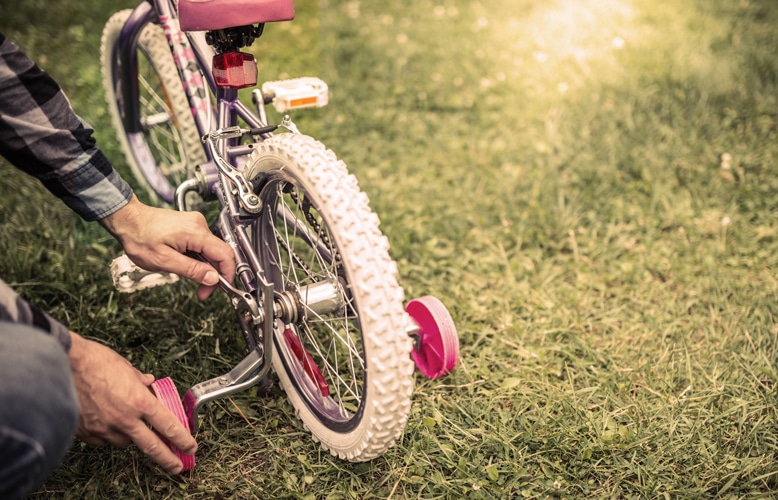
You may be a parent that is passing down a bike to your kids. To restore bike paint and make it look new is something you can be able to do as opposed to spending money on a new bike. The parts can also be replaceable as well. Not to mention, it’s not as costly as replacing a bike outright.
Now that you’ve passed down that bike to someone special, you can share bike riding moments with them. That also includes getting your own bike. So perhaps you might as well buy a new bike anyway, but for yourself. There is nothing quite like making memories with the family-like riding bikes.
Whether it’s a mountain bike or something else, you’ll want to find something that will fit you perfectly. It’s also a good idea to find one that can be able to handle smooth terrains and also terrains that are uneven and rough.
The first thing you’ll need for painting a bicycle Trusted Source The top 5 benefits of cycling - Harvard Health Bike riding has many health benefits. It’s easy on the joints, it’s an aerobic workout, it builds muscle and bone, and it helps with everyday activities, such as walking and stair climbing. www.health.harvard.edu is bike paint (obviously). That’s not all. You’ll need plenty of tools to disassemble the bike, so it’s stripped down to the frame. After all, that’s what you’re going to be painting for the most part.
Specifically, you’re going to need the following tools: Allen wrenches (4, 5, and 6 mm), chain tool, socket wrench, crescent wrench. Also, you have your choice of spray paint and clear coat.
Since there is also the possibility where you’ll need to remove stickers, labels, and the like, get a blow dryer or a heat gun, a putty knife should also do just fine, assuming you have a hard time removing it.
Now, we’re going to begin the project. It is important that you carefully follow each step below. As a do-it-yourselfer, you know that there are no shortcuts or cutting corners when it comes to doing a good quality job on any project (especially this one). Follow each of these steps carefully so you can be able to perform the tasks properly without doing damage to the bike itself. Let’s dive right in and get started.
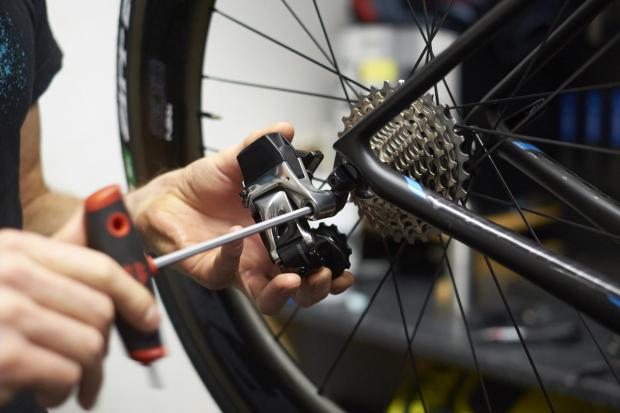
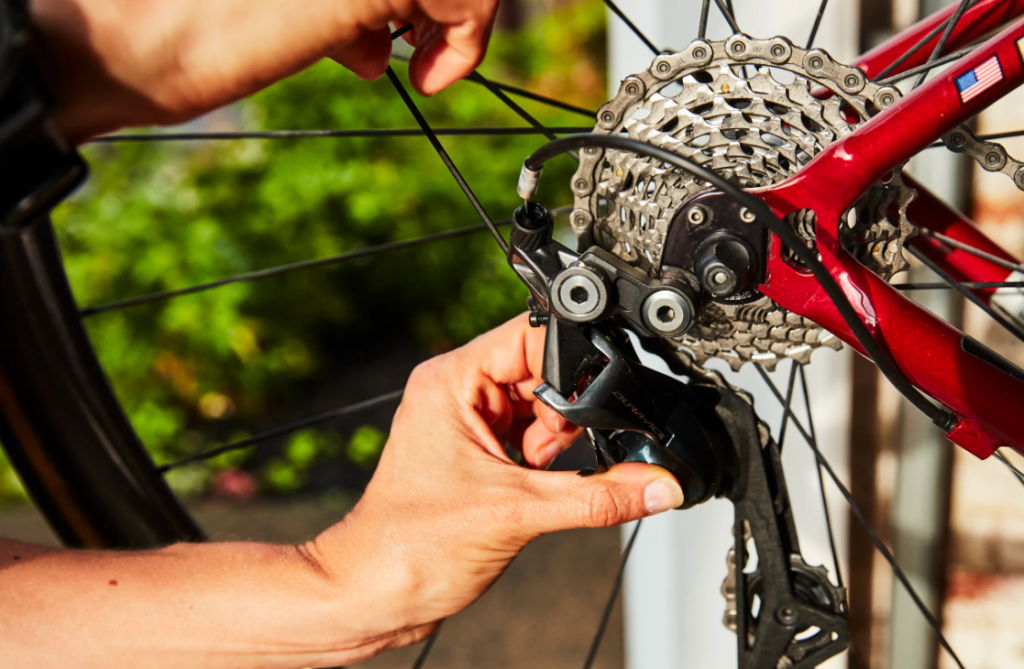
From there, you can get to work on detaching the tires, the chains, and so on. Using the Allen wrench, you’ll be able to remove the brakes and anything else. You can be able to tell what an Allen wrench will be used because of the holes you’ll see on specific bike parts. If you need to remove the front fork, the crescent wrench will be useful here. The socket wrench will get the job of removing the crank arms, while you can remove the bike chain with the chain tool.
Keep in mind that you’ll have some small pieces to work with. For this reason, you’ll want to safely store them somewhere nearby, so they don’t get lost. One-piece missing can really throw things off course. The same goes for all the stuff you removed on the bike (chain, bottle holder, etc.) Keep them all in one well-organized place, so you know where everything is.
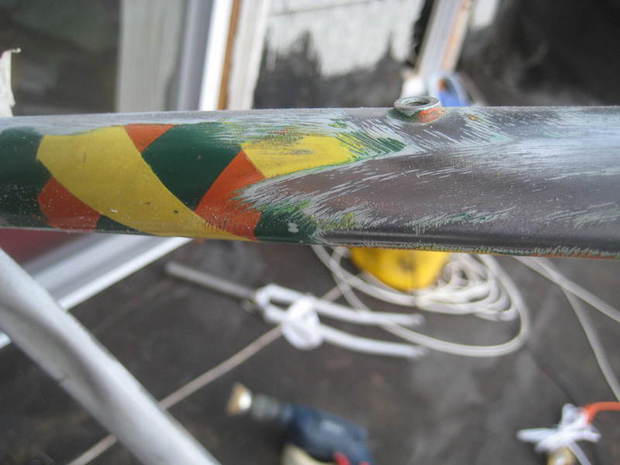
Also, you may want to get rid of any stickers, labels, and decals. Removing these is going to be a challenge. However, there’s an easy way to go about doing it. Find a blow dryer or a heat gun. Use it to warm up the labels, stickers, etc. The heat will cause the adhesive materials to loosen up and allow for easy removal.
For any difficult removals, a putty knife is your best friend here. Lift the edges of the stickers and peel them off the frame carefully. Once you have all that sticky stuff removed, wipe it down with WD-40. You should be able to wipe off any residue or leftover stickiness with ease.
Once everything is removed, you should just have the frame itself. At this point, you can clean it up. Remove any dirt, debris, grease, and anything else you can. There’s a ton of options you can use in terms of cleaning products.
If you got 150 grit sandpaper handy, use it. This will help you roughen the surface. It’s OK if you want to go with something rougher in texture. For example, if the paint is thick or glossy, use something that will be pretty rough, but not to the point where you’re removing the paint completely. You’re not removing the old coat of paint here. You are smoothing the surface for the new coat.
If the frame has matte paint or is not even painted at all, fine sandpaper will get the job done. Get to work and sand the frame where needed. Wipe down with a cloth and soapy water.
If there are parts of the bike that you don’t want to paint, you want to cover them up. If there are parts of the bike you left, such as the pedals (including the crank arms), cover them properly. You might not be painting them anyhow. But to prevent doing so, some plastic bags should provide some excellent coverage. Secure the bags with masking tape or painter’s tape.

And now, the real fun is about to begin. First, you’ll want to make sure you are in a well-ventilated area. If you are outdoors, it’s the perfect environment.
If you are unable to hang it, a workbench might just do the trick. Using a dowel or a broomstick, secure the frame via the head tube and make sure it’s clamped down on the table. A regular table, desk, or stand can do just fine if you don’t have a workbench.
Now, you’re going to need spray paint. You can also use a clear coat as well (but that’s optional). At this point, you may already have a color picked out. If not, think of one and move on to the next part of the painting process. Brands like Krylon or Rustoleum are usually good for the quality. Generic brands should be avoided because of the lack of quality in the paint.
One thing you want to avoid is mixing different brands of spray paint together. The chemical composition may differ from each other and thus cause a bad reaction. Consider whether or not you want to go for a glossy finish or a matte finish.
Once you have the paint of your choice, it’s time to go to work. Spray on the first coat and make sure you are at least one foot away from the frame. Keep the can moving around constantly. Do not spray in one area to avoid leaving drip marks. Paint the entire surface all around. Don’t worry about everything not being perfect. If you miss a spot, no big deal. Because you’re doing more than one coat.
After the first coat is applied, let it dry for about 15 to 30 minutes. Once dry, you can apply the second coat of paint. If you want to add another coat, wait for another 15 to 30 minutes to dry before application. On average, about three coats should be enough. Apply additional coats until you can’t see the old paint or metal and the new coat looks even.
The next thing you’ll want to do is apply a clear coat. This will prevent the frame from rusting. In fact, you should consider waiting a few hours before applying the clear coat to ensure the paint is actually dry.
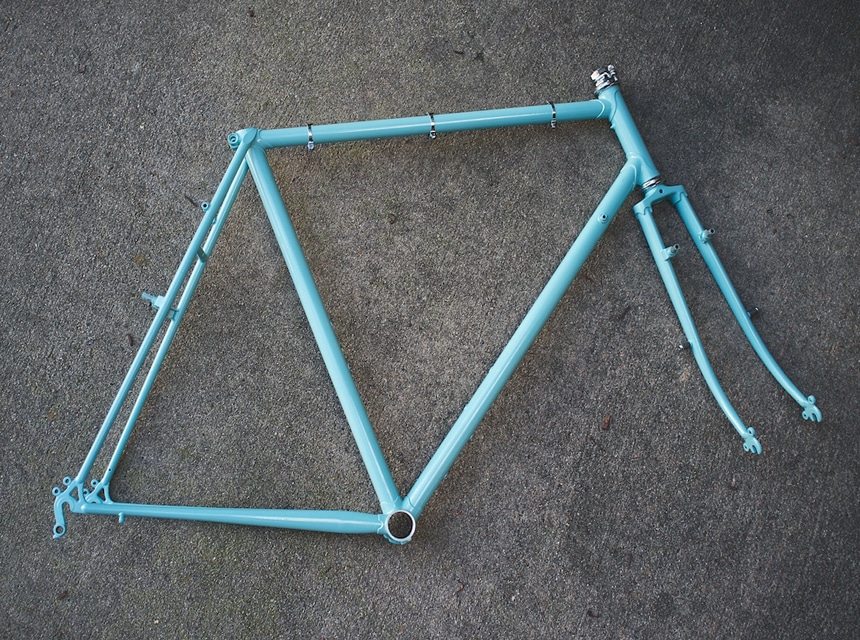
At this point, you’ll want to allow the bike frame to dry for approximately 24 hours. Do not touch the bike or move the frame during this period. If it is outside, monitor the weather conditions. Carefully move the frame indoors if there is inclement weather in the forecast. Once dry, remove the tape that you’ve used to cover up some of the unpainted parts.
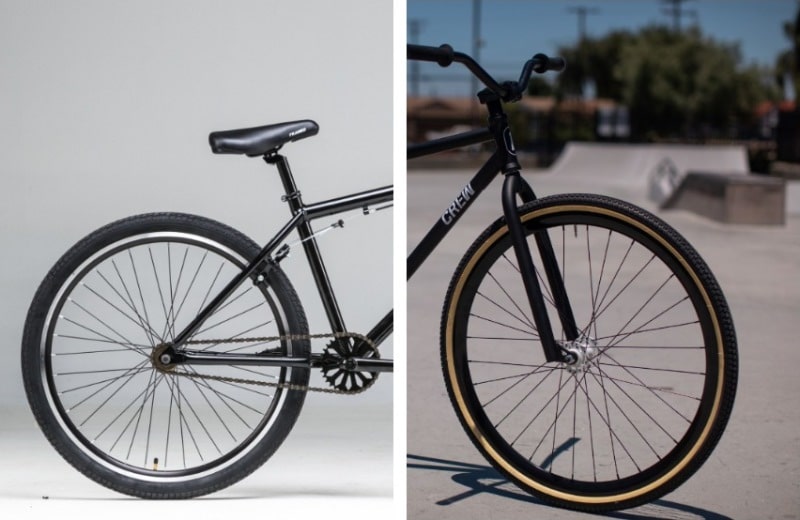
After everything is dry, it’s time to put everything back together. Hopefully, you’ve been able to take note of what to reattach and where. This includes the front fork, the wheels, seat, crank arms, and chain, among others. Carefully reattach everything and secure them properly using the right kind of tools (Allen wrenches for brakes, chain tool for the bike chain, and so on). You should know where every piece goes.
If you need to tune up any parts, feel free to do so. Ride around and test out the brakes to see if they are still working. You may need to replace some parts if possible. When you are finished, you can store it on a bike rack. Make sure it’s in a secure area, so no one sneaks around and gets their hands on it.
You can try the following methods:
It all depends on the type of surface you’re painting and the desired finish. The most popular options are:
A standard-sized bicycle frame will typically requires 2-3 cans of spray paint or 8-12 ounces of liquid paint. However, this is just a rough estimate, and you should always follow the manufacturer’s instructions and refer to the paint can’s label. Also, bear in mind that the first coat will typically require more paint than subsequent coats. It’s also a good idea to have a little extra paint on hand in case you need to touch up any missed areas or apply additional coats.
To paint a bicycle is probably one of the best DIY projects you can do. It’s easy to do and mostly inexpensive. This would be a good project not just for you but for younger kids as well. It will teach them the importance of safety measures they’ll need to take when performing tasks such as this.
If you are someone that is looking to restore a new bike for the purpose of passing it down to someone in your family, this project has its rewards. Or you can give the bike away to someone who might need one and really appreciate it. Painting a bike may seem like a task that’s easy enough. But it does require you to disassemble it, so none of the parts you have been painted over.
When it’s finished, make sure to give it a test drive (or have someone else do it). There’s nothing exciting like riding around on a bike that has a fresh paint job. If you have an old bike lying around, have at it.