- Trails
-
Bikes
-
Gear
-
Tips & Tricks
-
About us


Bikes will always need repairs as their bodies and condition usually get worse over time, and one of the main parts of the cycle that constantly requires maintenance is the crank. In order to correctly work on it, you have to be familiar with the work it takes to repair and maintain it.
A crank can either be removed with a puller or without one and in this article, we shall be touching on how to remove a bike crank without a puller. It is complicated and challenging, and most people get it wrong, but it is possible with the proper experience and knowledge. Pay attention, and you’ll be able to remove a bike crank arm without a puller with ease.
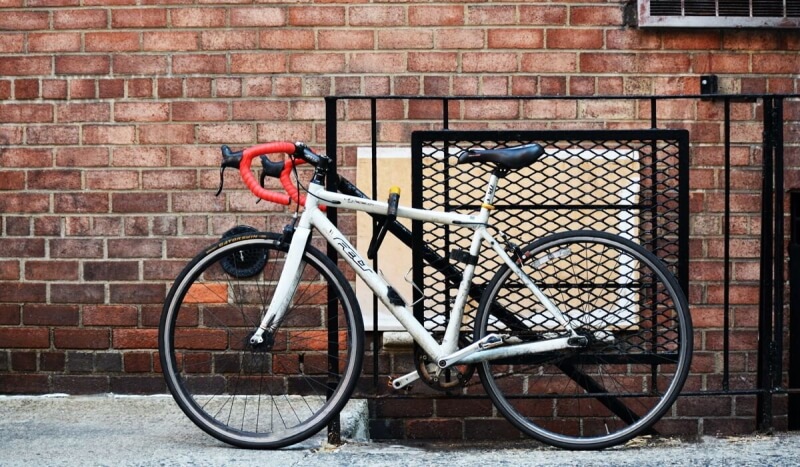
Before you get into the works, you must understand what a crankset is. One thing that people should know is that a bike is made up of different parts and mechanics that all work together to make the bike function properly as it’s meant to. Out of all the details, the bike’s most crucial feature of this machine is the crankset.
The crankset is a component on a bicycle that aids your bike in moving forward and helps with the movement of the entire cycle. And due to the fact that it is very reliable and has less weight, it is usually made of aluminum. The crankset is also known as the chain set, and it is one of the essential parts of the bicycle as it is the part in the drivetrain that works the chain as you pedal, causing it to move forward.
The way the crankset works is fundamental physics, as it converts the energy gotten from the rider in motion into a rotational motion that works the chain and causes the rear wheel to propel forward.
There are different crankset sizes, and the type that will work well for you depends on the make of your bicycle. There are three main crankset sizes, and for various kinds of bicycles, there is the small frame that comes with 170 mm cranks, the medium size that’s at 172.5mm, and the larger size that’s at 175mm.
But if you’re looking for a size smaller or larger than the average size, you should check out the SHIMANO m361 crankset, as it comes in various sizes and is very affordable.
There are different kinds of cranksets, single, double, and triple. You can use different cranksets for your bikes as other products are on the market. Still, through research, we have discovered that the BUCKLOS MTB Crankset is a perfect option for you as it comes in various sizes, and you can also enjoy choosing different colors.
Also, there are different cranksets for particular purposes. Many mountain bikers make use of the single crankset system for off-road journeys as it is the most suitable because of the convenience of its operations. The prices vary depending on the bike you use, but there are some excellent bikes that you can attain for a reasonable price. We compiled a list of the best road bikes under $3000, and they can be instrumental as you can easily match them with a proper crankset.
How to remove a mountain bike crank without a puller is different from the process needed to remove a crank from a regular bike, as it requires a different version of a crank puller, which is usually more expensive.
It is essential always to appreciate the use of a suitable bike for mountain biking, and it is vital that you use the best mountain bikes.
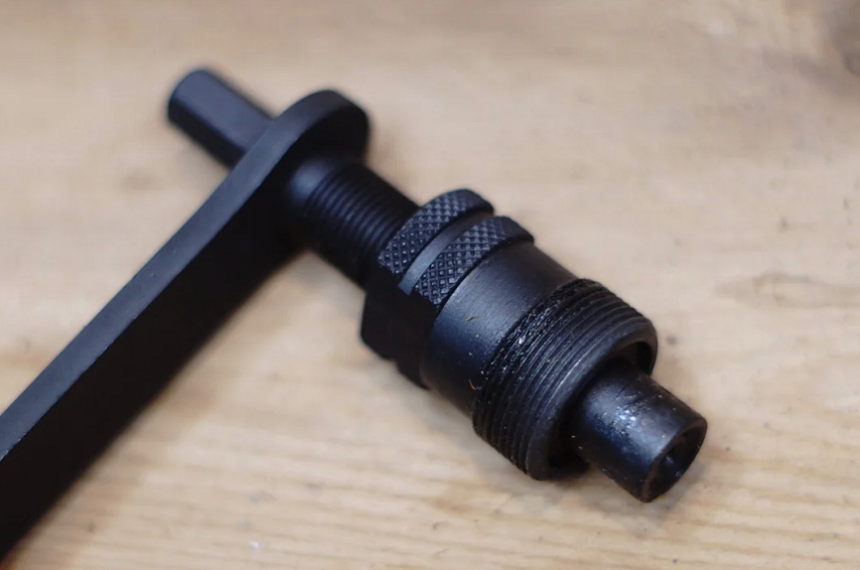
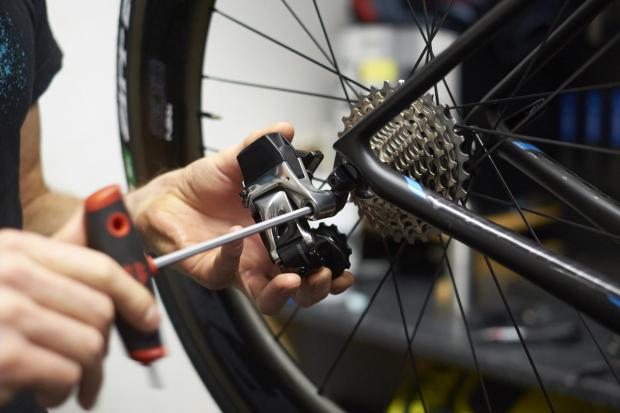
A crank puller can be said to be a device that is used to take away the crank from a bicycle. It works by drawing the bike cranks away from the axle and is made up of different nuts and bolts.
You can remove crank arms from a bike’s system without using a crank puller, but it was made to ease that process. They come in different sizes and shapes, and it is advised that you properly research the correct one that suits the bike that you own.
It could be more straightforward to understand, and you have to be familiar with a bicycle report to know how to use it well.
Bikers that ride on mostly rough roads, such as pathways made of gravel, often find out that their bikes are more damaged than those who depend on smoother roads. Having a crank puller on you can always be very handy as you can quickly fix up your bike and get going if you perform riding on more rough surfaces. In case you’re looking for the right option for this type of riding, here are the best gravel bikes that you should look into.
Most people make use of the crank puller to detach the cranks as they believe it is the fastest and most effective solution, but after this article, you will realize that there’s no need for the puller and you can make use of a few tools to get the job done.
Some of the essential tools needed include the following:
Old rags and clothing
Never underestimate the use of old rags and clothing that aren’t in use anymore. They are critical when changing your bike’s cranks without the puller, as you will be using them to clean up any mess from oil and rust. If you can’t access any rags or used clothing, you can also make use of soft towels and wipes.
Allen screwdriver keys
This also is a vital tool that you will need to have. The Allen keys are used to open different parts of your bike with ease, and without them, you’ll go through a lot of stress dismantling.
Spindle driver crank, bolts, and nuts
You will need a variety of different bolts and nuts and different sizes of them. You must obtain the bolts and nuts that fit the size of your bicycle. These tools are crucial as you will use them to properly remove the cranks. It is advised that you make use of park tools CCP 22 to remove smaller bolt sizes, and if you want to use larger bolt sizes, you make use of M14, and M12 can be used with CCP 44.
Lubricants
There are different lubricants that be useful when running maintenance on your bike and attempting to disconnect the puller. There might be some parts on your bike that are tight and the use of oils, it’ll loosen them up and make them freer.
Stand for your bike
Although this is optional, it is one thing that you can have with you when working on your bike. It is essential to keep your bike straight and upright when you’re working on it, and you can stand your bike without a kickstand Trusted Source 18 best bike storage ideas beyond racks and hooks | CNN Underscored Bike storage is an important part of bike ownership. But there are so many options from gravity-defying pulley and hoist designs to no-installation-required floor racks and figuring out what style is right for you and for your bike can be overwhelming. edition.cnn.com . Working on your bike when it isn’t straight or standing right can make you either make unnecessary mistakes or spoil your bike even more.
If you have been wondering how it is done, follow these easy instructions to remove the bike crank without a puller.
Safety should be your priority, and you should never disregard it. It is advised that before you start working on anything, you should always have on a pair of safety gloves to protect your hands from any damage. An alternative to safety gloves that give you more protection is rubber mittens.
It is vital to protect your hands before working because, without the proper gear, you are exposed directly to different wounds and injuries. It is better to avoid it from the start than regret it later.
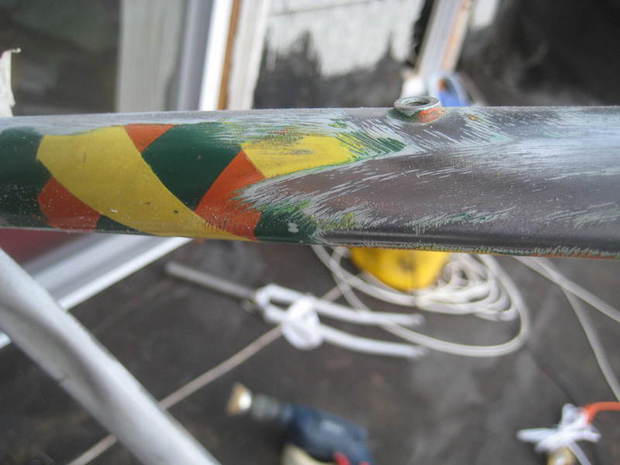
After protecting yourself, the next thing is to clean up the chain ring composition of the bike with a rag or a pair of wipes. Be careful while cleaning that part because it is usually very sharp and can cut you.
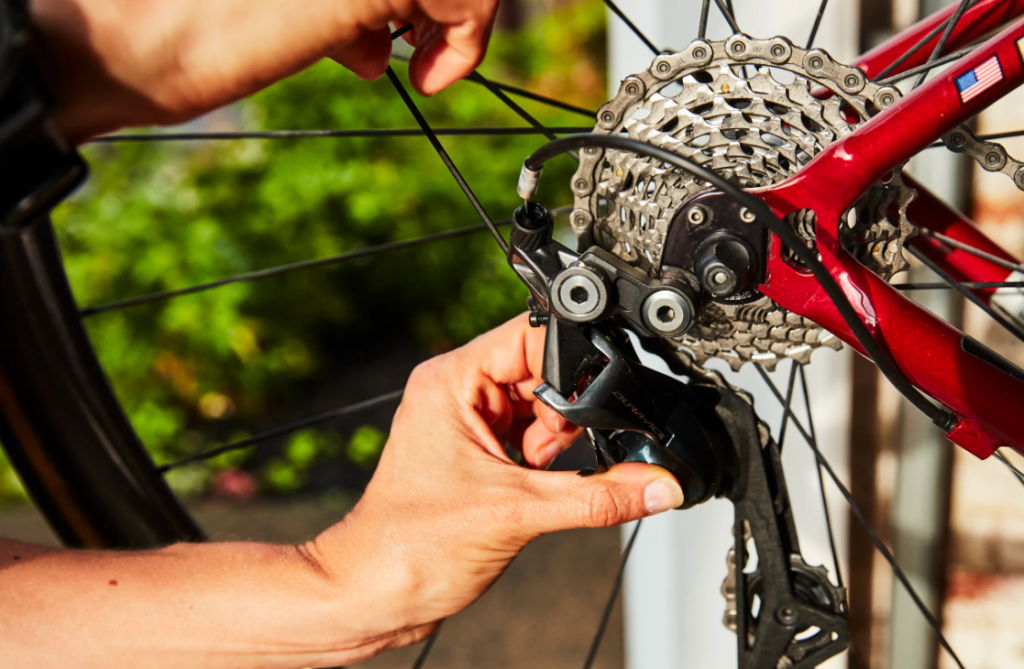
The next step to take is to remove the bolts or nuts from the crank, and this can be done with the use of the special Allen keys Trusted Source COOL TOOL TUESDAY #2: YOUR COMPLETE GUIDE TO HEX KEYS A deep dive on the true must-have tool and the 16 or so different styles that exist. cyclingtips.com . A universal wrench can be used as an alternative if you don’t have access to an Allen key. With the help of the tool, you are meant to turn the bolts in a counterclockwise direction until they become entirely loose, and you can easily remove them. After you finish this, you are then to remove the crankset.
After you have finished removing the bike crank bolts or nuts, you are then meant to remove all the washers with the assistance of a spammer. The washers are the discs that ensure that the nuts and bolts are properly secured and can be located below the nuts of the crankset. They come in various designs and shapes, so you must identify the washer before removing it and placing it elsewhere.
For this step, you will make use of different crank screws and nuts when finding and eliminating the cranks. As previously stated, the nuts and bolts come in different sizes, so you must know the exact size so you can choose the accurate tools to avoid doing damage to your bicycle. After you have identified the right crank, you are then to eliminate the coupler by threading.
For the threading, it is advised that you use a hex tool partnered with a screwdriver or a spanner.
Once you have gotten the right tools, twist the coupler until it is loose until it is almost removed. Note that you should only partially remove the coupler to avoid damage.
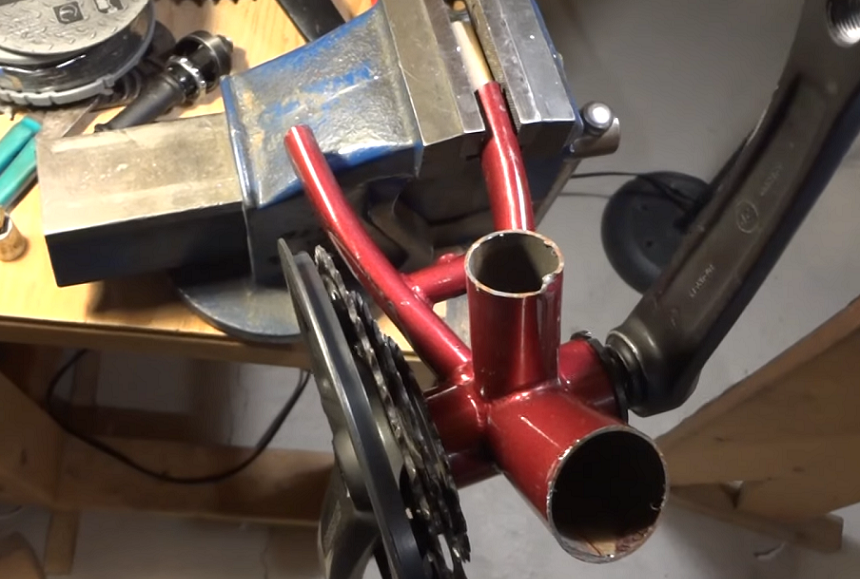
Using your bare hands, you are then to cautiously string the spindle driver to the arms of the bike. You will then notice an available slot where the spindle shall be inserted into. You then proceed to twist it in a counterclockwise motion. It is meant to be done slowly and with patience until it is stiff and tight. It is vital to perform stiffness tests after to ensure that it is adequately secured.
You are then meant to turn the spindle driver in a clockwise position, and this is done when you thread the spindle until you have realized that the crank has been released. This step, just like the previous one, also requires much patience as rushing it will only harm you and damage the bike’s crankset.
Next, carefully remove the puller tool’s thread from the bike crank. This can quickly be done as the crankset has been removed already. And with this, you have successfully removed the first crank off your bike.
This step leaves your knuckles at the risk of skinning, and it is essential to remain on your toes to avoid peeling your skin.
Once you have successfully finished the first crank of your bike, your next step is to remove the other part from the bike, which is done by repeating the same process as before.
It is essential to do the same methods with extreme caution and security to avoid unforeseen events or any unfortunate accidents. It is better than you have a partner with you when carrying heavy parts of the bike.
You must run an entire check and a final examination of the bike to ensure that all the parts are working correctly, most importantly, that the cranks of the bike were successfully removed.
Running double checks and examinations is vital when problems arise, and you will be able to properly root them out and see where to make proper corrections on the affected part.
Following each step here is crucial if you want to learn how to properly detach the bike crank without a puller. It is advised that you should never be in a rush and always take your time when performing each step. Also, make sure that your safety Trusted Source Bicycle Safety: Bike Safety Tips for Kids and Adults | NHTSA Learn bicycle safety tips for kids and parents to avoid crashes between cyclists and vehicles, and reduce death and injuries on the road. www.nhtsa.gov remains your number one concern always.
There you have it, you can now work on your own, and with these steps, you can finally remove the crank from your bicycle without using a puller or needing to visit a nearby shop or contact a bicycle mechanic.
It may seem simple, but the knowledge of understanding how to remove a bike crank without a puller is vital information that every biker should have so you can always rely on your own skill and always go at your own pace. But if you are still having problems with the maintenance, then you should call a professional for help and also remember that your safety is important and should be prioritized.