- Trails
-
Bikes
-
Gear
-
Tips & Tricks
-
About us


Mountain biking is one of the most exciting yet often overlooked pastime activities. It offers the perfect combination of thrill and rigorous exercise that leaves you feeling energized. The best part is that you can even pursue mountain biking on a professional level.
If your handlebars are too wide, then you’re probably experiencing some discomfort during your rides. In this guide, we’ll highlight everything you need to know about adjusting your handlebars, including why it’s important to do so. We’ll also look at the 2 most common adjustment methods as well as the tools you’ll require for this exercise. Welcome to the ultimate mountain bike handlebar adjustment guide!
Mountain biking is a physically demanding sport, and according to the BBC, Trusted Source Watch Mountain Bike World Championships LIVE: Men's & women's downhill - Live - BBC Sport Watch live coverage of the men’s & women’s downhill races at Mountain Bike World Championships from Val di Sole, Italy. www.bbc.com you can burn around 559 cal/hr with this activity. It’s no wonder more people are participating in mountain biking reactionally. When people buy a mountain bike, they tend to leave it as is, even when they’re experiencing slight discomfort. Raising your handlebars can help you improve your riding experience.
There are instances where mountain bikers adjust their handlebars as a personal preference, but there’s more to this. Here are the top benefits of raising handlebars on a mountain bike.
By default, the handlebars of a mountain bike are usually featured a bit lower than the seat. If they’re too low, you’ll end up hunching over throughout your ride, and this can get very uncomfortable. It can also impact your visibility, ultimately slowing you down and reducing the quality of your ride.
Cycling comes with immense health benefits, and according to Telegraph Trusted Source The health benefits of cycling Some of the health benefits cycling brings may be obvious but there are others that you may not have been aware of. www.telegraph.co.uk , they include weight loss, increased energy, reduced stress, and increased cardiovascular function. There are, however, some downsides to this activity, such as numbness, neck and lower back pain. While the link is not overly obvious, the position of your handlebars highly contributes to this.
If your mountain bike’s handlebars are too low compared to the saddle, you’ll have to lean forward a bit too much to get to them. This position may have aerodynamic benefits, but it will end up exerting stress on your back muscles. It could even result in severe pain, especially when you ride for long distances. The best way to prevent this is by keeping your spine in a neutral position and pivoting your hip. This is, however, difficult if your mountain bike’s handlebars are low.
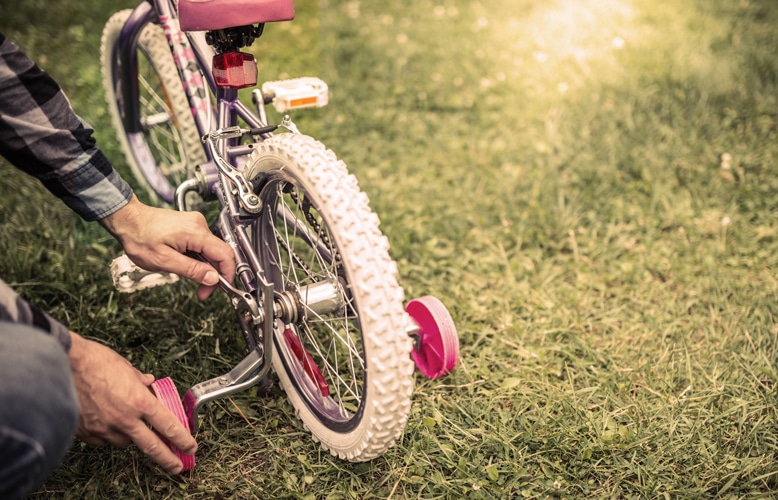
Cycling is a favorite activity among children and the key to keeping them enjoying it for a long time is to get them a mountain bike that they can use for a long time. Children, however, grow very fast, and it’s uneconomical to keep buying a new bike every time they outgrow their old one. The best way to navigate this challenge is by raising the handlebars and the saddle. This will have the desired effect! Depending on how fast your child grows, you may have to adjust the handlebars at least once a year.
Other benefits of raising the handlebars include:
Most mountain bikers are often conflicted about the suitable width or height of their handlebars. You’re probably wondering, is there a perfect handlebar height? Yes. You, however, need to understand that a one-size-fits-all approach doesn’t work. You need to determine the ideal height based on your body, and the good news is that this is fairly simple: just do what feels natural as you ride. Keep making adjustments until the handlebars are at a height that feels comfortable for you.
Before you decide on the ideal handlebar height, there are 2 main questions that you should ask yourself: what kind of mountain biking will you be engaging in? Why exactly are you looking to make adjustments? There are various types of bike models, including mountain bikes for hunting, but most MTBs draw a lot from road bikes that usually have narrow bars. If you’re looking to navigate through cycling courses at high speeds, then you can reduce the width. For riders that are mainly into motocross riding, then wider bars are the best option as they offer better maneuverability and control, which are critical when navigating rugged terrains.
Ultimately, the main factors that you should consider when determining the ideal handlebar height are;
Most importantly, make sure that your preferred height guarantees you comfort. No matter how well-positioned the handlebar is, if you’re stiff in your position, it will not be a great fit. This is because you’ll have a hard time executing the correct techniques.
There are 2 main ways of raising your bike’s handlebars; with a threadless headset stem and using a threaded headset stem. We’ll discuss both methods in detail below.
For this method, you’ll need to get a good threadless headset stem, and the best way to identify one is by checking for screws and bolts pinching into it. Here’s a step-by-step guide to ease this process for you.
For this method, you’ll need;
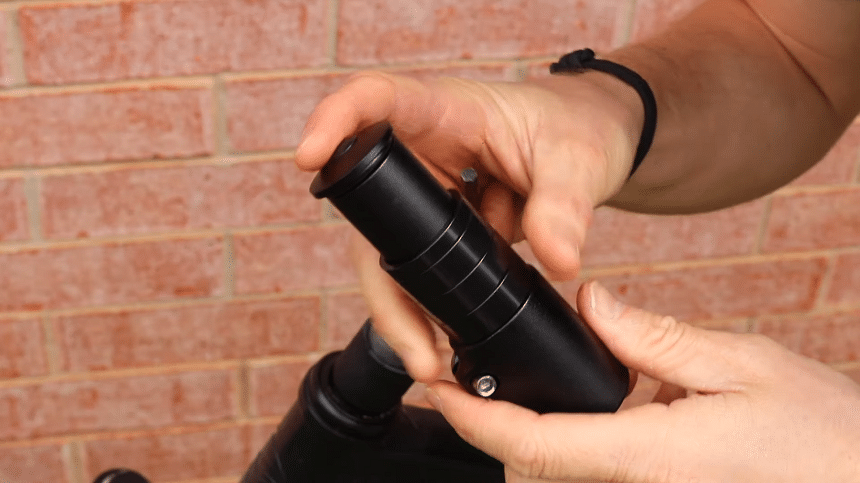
For this method, you’ll have to add a spacer to adjust the handlebars. It’s one of the easiest methods, and it automatically raises the handlebar’s height and position. The spaces are located on the steerer tube of the forks, and most modern bikes often have headset spacers of around 20 to 30mm.
Here’s how to effectively adjust your handlebars using a tireless headset stem.
Step One
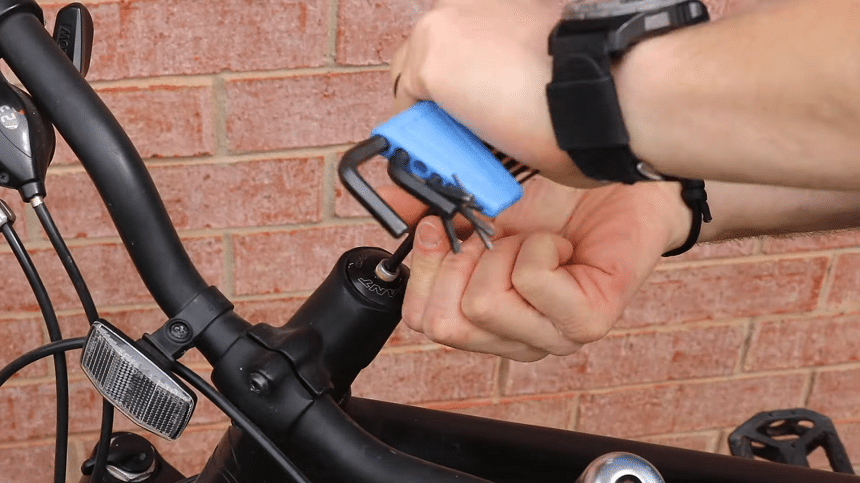
Ensure your mountain bike’s wheels are firmly planted on the ground. This will allow you to loosen the stem’s screws with ease.
The screws are located at the back of the stem and should all be loosened. We recommend that you gradually go through each screw until you stop feeling any resistance. If you’re having a hard time doing this, oiling the top cap bolt with some grease helps a lot and makes it easy to remove both the stem cap and stem cap bolt.
Step Two
Start making adjustments to your handlebar.
The first step allows you to remove the stem off without any challenges, but this is where the adjustments actually begin. Identify the number of spaces that you’ll need to raise your handlebars to the preferred position and then add them in. you’ll notice that the spacers are available in different sizes, allowing you to try out different heights until you determine the perfect adjustment.
Don’t rush through this stage. Keep in mind that the height of your handlebars highly impacts your riding performance and health. So, it will probably take you several tries to get the ideal position. Once you’re certain that you’ve made the perfect adjustment, return the stem on the tube.
Step Three
If, after making the adjustments, there are leftover spaces, ensure they go above the stem’s position. Make sure you also leave gaps between the top of the stem and the steerer tube of approximately 3-5mm. This will leave enough space to put the headset system.
Lack of leftover space could be an indication of missing spacing rings.
Step Four
Tighten the top bolt until the stem starts exhibiting sense resistance. We recommend that you refrain from tightening the screws and bolt too tight as this could make your handlebars rigid. This, in turn, makes it difficult to turn them. On the other hand, if the screws are too loose, you’ll start experiencing vibrations throughout the bike frame & stem, which will result in your mountain bike being unstable.
Step Five
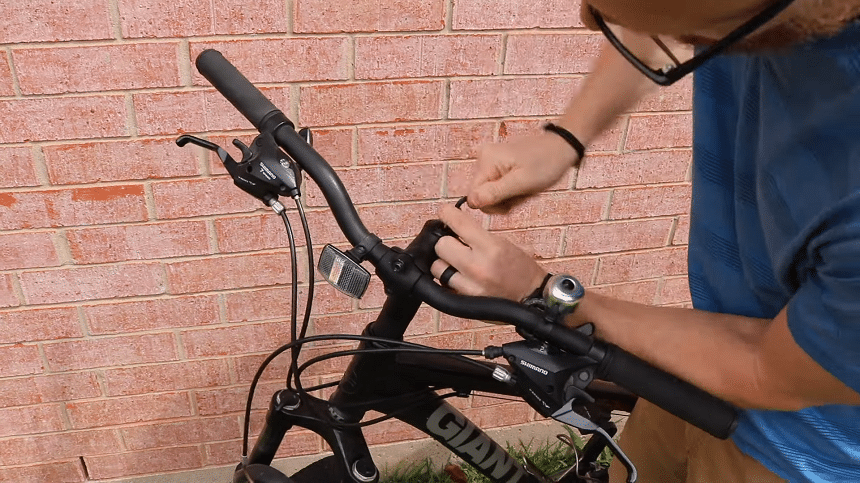
At this point, you’ll notice that the front wheel and the stem don’t align. It’s time to fix this. Place the length of the top tube between your legs. This should give you the same view you’d get if you were riding your bike, make it easy to align them. Once this is done, torque the side bolts using a torque wrench.
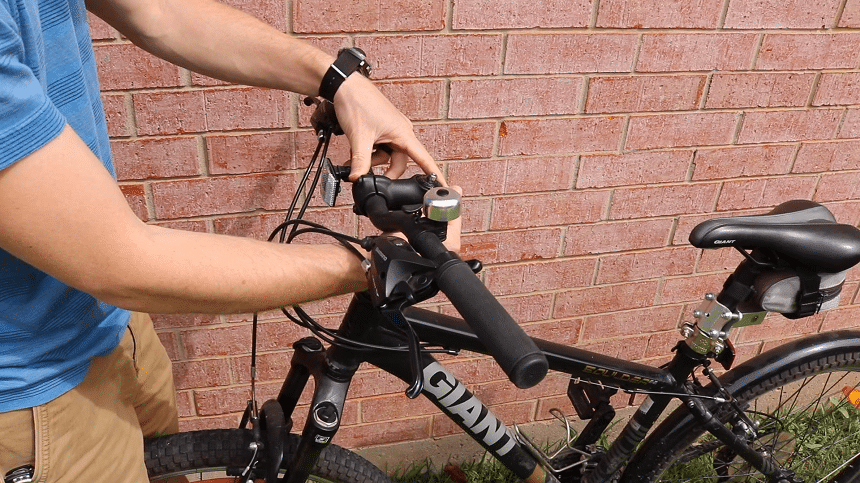
Step Six
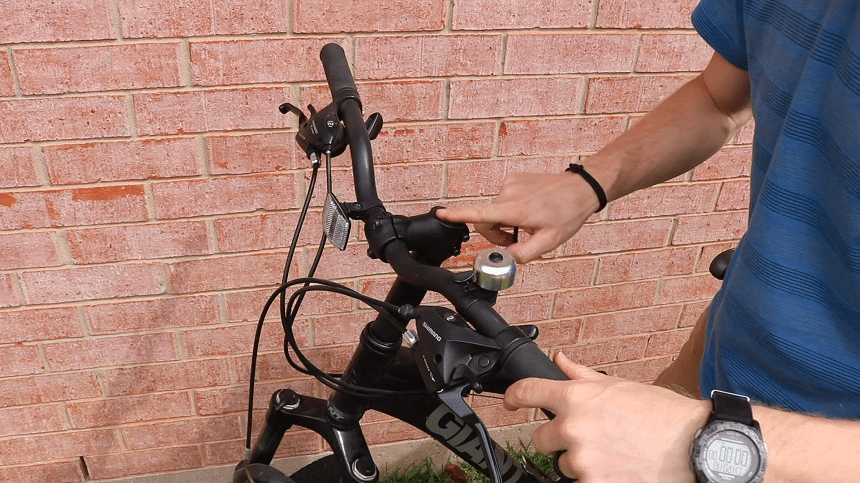
Finally, your handlebars are at the right height! However, before you’re all done, you need to first inspect your work. Hold the brakes, and then hold the headset with your other hand. Gently wobble the handlebars, and if you experience any vibrations, you’ll need to make more adjustments. Repeat this step until there are no more movements. Make sure the handlebar movements are smooth too.
Approximately 20% of modern mountain bikes come with a threaded headset. To find out whether your bike has one, check for the metal piece connecting the bike frame and the handlebars; it should be continuous. You’ll also note that the bike has one stem cap bolt that’s located on the stem.
To raise your handlebars using a threaded headset stem, here’s a 2 step process that you should follow.
Step One
First, loosen the bolts using the Allen Key and then loosen the locknut using a wrench. This will make it easy for you to remove the stem. Keep in mind that in some mountain bikes, the handlebars have hex nuts.
Step Two
Adjust the handlebars.
For this step, you have to consider your preferred riding style and the type of mountain bike that you own. Most modern mountain bikes feature saddles that are slightly higher than the handlebars. Take extra care to avoid setting the handlebars too low because this could impact your control and comfort.
This take will take a couple of tries before you get it right but keep making adjustments until you find the perfect position. Once you’re satisfied with the handlebar’s height, you can now reattach the stem as well as the stem bolt cap.
If you’re looking for the perfect mountain bike for your cycling sessions, then the Schwinn mountain bike comes highly recommended. It’s highly durable, versatile, and can hack both neighborhood and out-of-town rides. This bike also makes it easy to adjust the height thanks to the quick-release seat feature.
Riding your mountain bike with handlebars that are too low is not only uncomfortable but is a health risk. After a while, you may start experiencing numbness and lower back & neck pain. This is why you should conduct a handlebar adjustment as soon as you get your bike. Keep in mind that there’s no standard height, and you should make the adjustment based on your size, riding terrain, and preferences. If you have other bikes, you can use them for reference.
If you’re having a hard time determining the ideal handlebar height, we recommend that you make adjustments using the threadless and threaded headset stem methods. Both methods are relatively easy and require tools that are readily available.