- Trails
-
Bikes
-
Gear
-
Tips & Tricks
-
About us


There is nothing better on a summer day than riding a bike, especially if you keep your bike in good condition. It is relaxing, fun, and a great way to keep in shape. Of course, if you are looking to liven up your riding a bit, you could try your hand at riding on a bike ramp. You simply need to know how to build a bike ramp, and you will be flying through the air in no time at all! While there are ramps that can be purchased, they are usually much more expensive than a do-it-yourself model. However, these pre-fabricated models are not nearly as versatile or customizable. In this handy guide, we will take you through everything you need to know to build the best bike ramp for your needs.
If you have one of the best mountain bikes or the best dirt jump bikes, you are probably itching to try them out on a ramp! In this guide, we will take you through everything you need to know to build the right ramp for your bike, even if you have one of the best gravel bikes under $500. Sound good? Well then, let’s get planning!
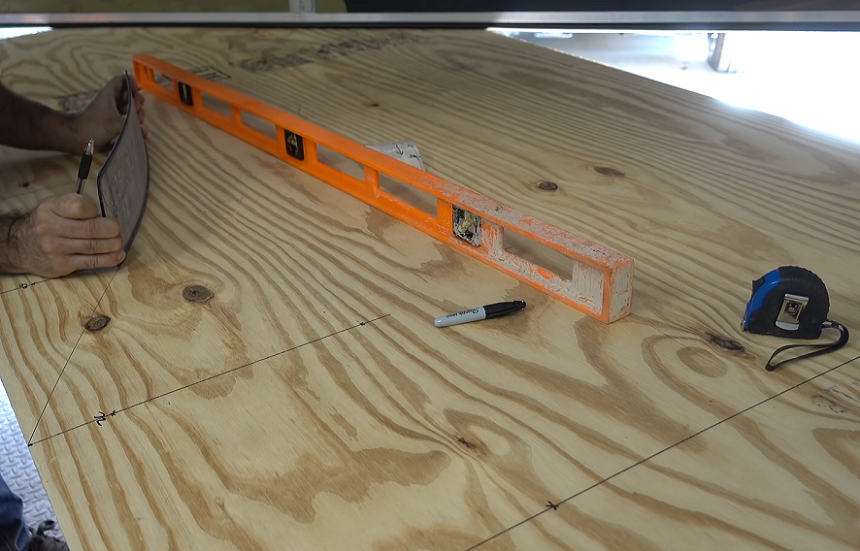
There are several things that you will need to build a bike ramp. Obviously, the measurements will change based on the dimensions of your ramp. In this guide, however, we will provide the measurements that we have found work well for a portable ramp. For our sample ramp, we used the following:
Tools:
Materials:
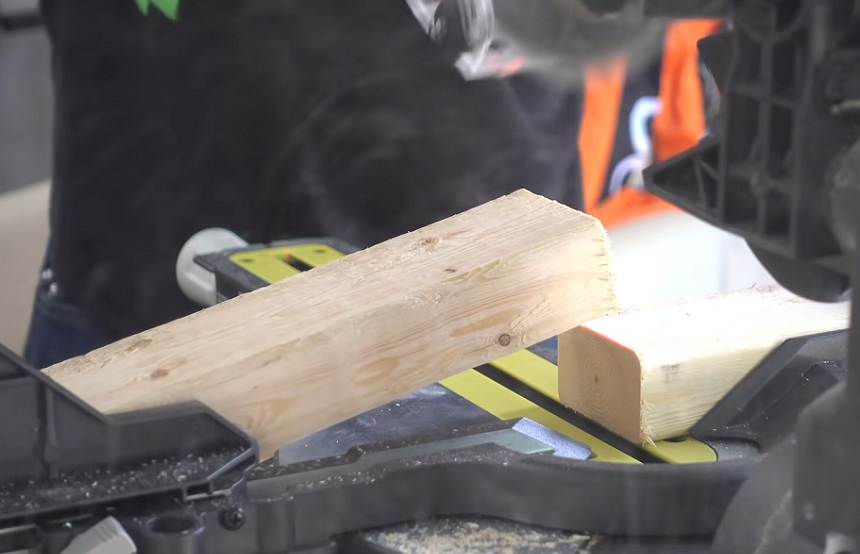
Since you, or your children, are going to be riding off of this ramp, you will need to make sure that it has plenty of support. This is where the 2 x 4s come into play. Using your miter/chop saw, cut these boards into three lengths of 24 inches. You will also need one additional board cut down to 23 inches to hold all of the vertical supports together. Once these boards are cut, set them aside and focus on the vertical supports.
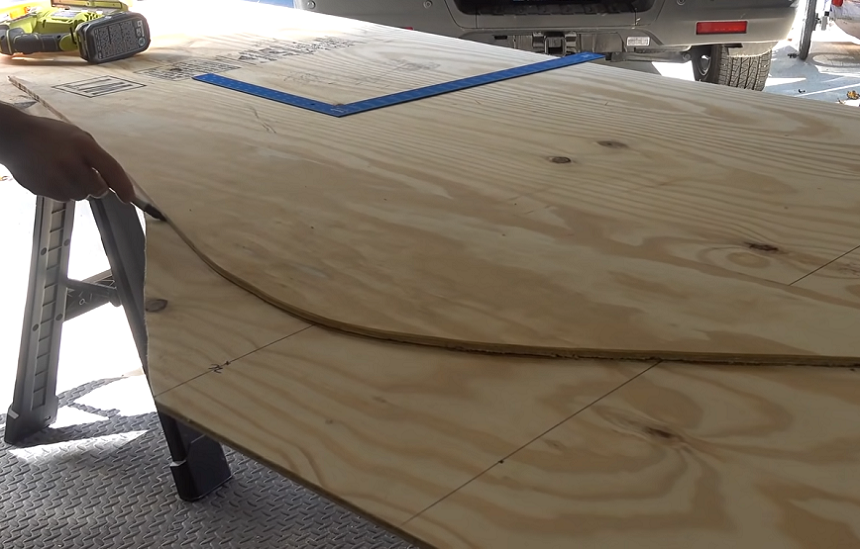
These supports will make up the frame of your bike ramp. This will be done with part of your plywood. Using your table saw or jigsaw, cut three rectangles that measure 24 inches by 12 inches. Next, attach these three rectangles so that they are perfectly aligned. This can be done with clamps, nails, or screws. It doesn’t matter which method you use as long as you keep the pieces in place. Next, sketch a curve. You may make it as pitched or gentle as you like. If you want to be as precise as possible, you can measure the angle precisely. Once your curve is sketched, use your jigsaw to cut it out. Finally, cut three notches along the slope that are evenly spaced for the cross-beam supports.
Once you have the slots cut, separate the supports. Pick one of the supports for the middle and cut another slot along the front and bottom to hold your 23-inch board.
After you have the supports made for the bike ramp, you will need to make the deck of the ramp itself. This will be done with the remainder of your plywood. Our deck was 24 inches wide and 25.5 inches long. Use your table saw or circular saw to cut this rectangle.
The next part of making the bike ramp deck is the trickiest. Plywood, though quite flexible, will not mold to the shape of a bike ramp that has a sharper incline. As such, you will need to cut small channels in the bottom of the wood so that it has a bit of flex. To do this, simply lower your table saw blade so that only 1/8 of an inch sticks up. Next, use the saw to cut channels along the entire width of the plywood. These channels should be spaced about 1 inch apart. This will allow the plywood to flex to fit your pitch easily.
The final piece that you need to cut for your bike ramp is the base plate. This will go on the bottom of the ramp. It should be cut to be as wide as the ramp. For our ramp, this meant it would be 24 inches wide. It also needs to extend beyond the length of the ramp by about 10 inches. On our ramp, this added up to 35 inches. The reason for this piece is two-fold. First of all, it keeps the ramp nice and levels no matter where it is placed. Secondly, and most importantly, it will keep the ramp from tipping over, which is highly important from a safety standpoint.
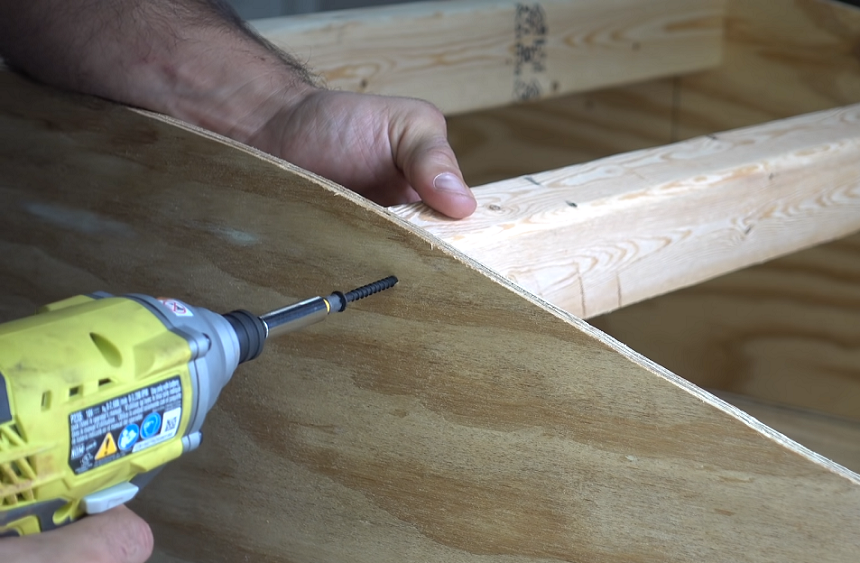
Now that all of the necessary pieces have been cut, it is time to put them all together. The first pieces that should be attached are the vertical supports and the shorter 2 x 4. This will give the frame proper spacing. Using your drill bit, put a pilot hole on the two exterior vertical supports where they meet the support board. Be sure to properly sink Trusted Source HOME CLINIC THE HANDY KNACK OF SINKING PILOT HOLES FOR WOOD SCREWS The New York Times This is a digitized version of an article from The Times’s print archive, before the start of online publication in 1996. www.nytimes.com the screws so that they are flush with the wood. Then, put in a screw to keep the vertical supports in place. Next, drill a pilot hole for the middle support into the cross beam and attach it with a screw. This will need to be done at an angle, so drill carefully.
Once you have the bottom beam and vertical supports attached to each other, place the other crossbeams in their pre-cut slots. Using your drill, put in pilot holes at each spot where the beam meets the supports. Finally, attach the beams at each location using your screws.
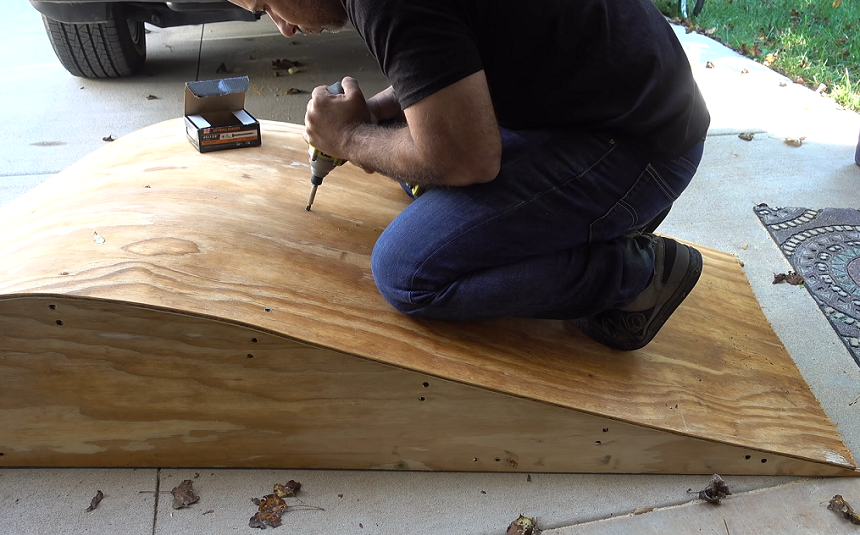
The final step in this process is attaching your deck and the base. We recommend that you do the base first. Be sure to line up one set of corners with the frame that you already have assembled and put in pilot holes. Then, add the screws to attach the base to the frame.
Finally, place the ramp deck on the ramp and flex it into position. If this is difficult, you may need to cut your channels a bit deeper. Once you are satisfied with the flex, drill pilot holes at the top corners where the deck meets the supports. Attach your deck there and work your way down, putting pilot holes in each support and attaching it with screws. You will need about six screws per support, spaced about 4 inches apart. Finally, place screws at the bottom of the three vertical supports. Be sure to drill pilot holes throughout this process so that the plywood doesn’t crack or break when you are attaching the screws.
Now, go and enjoy your ramp! But please, make sure you have a good Bontrager Solstice MIPS Helmet Trusted Source Bontrager Solstice MIPS Helmet Balancing performance and comfort with the protection of MIPS, the all-purpose, value-packed Bontrager Solstice MIPS bike helmet offers plenty of ventilation for long rides on the trail or in town. www.rei.com for safety Trusted Source Emergency Department Visits for BicycleRelated Traumatic Brain Injuries Among Children and Adults United States, 20092018 MMWR This report describes emergency department visits for bicycle-related traumatic brain injuries while riding a bike. www.cdc.gov !
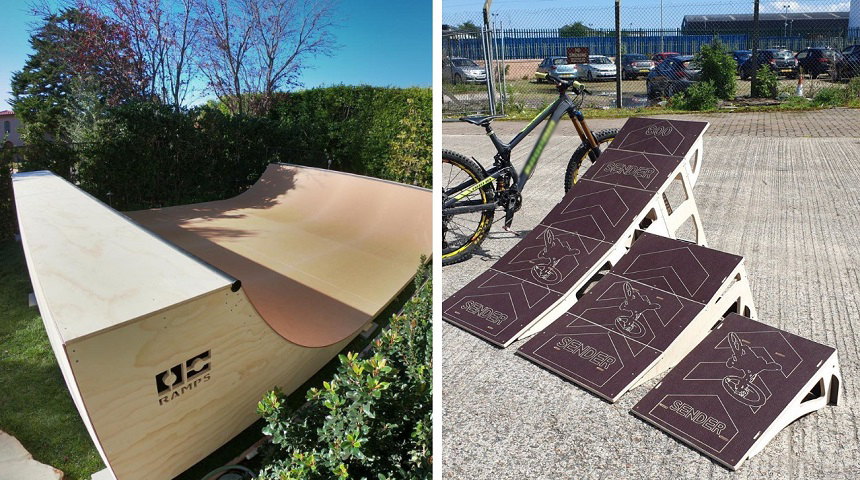
Of course, if you cannot find the time to build your own bike ramp, then there are several different types of ramps that you can buy. In this section, we will briefly review each type so that you can find the one that works best for your needs.
These ramps are known for their adjustability. They are also quite adept in lots of environments, so if you are looking for the best ramp for dirt tracks or pavement, these will work well.
These ramps work well if you are not going to be moving them from place to place. They are a bit larger, but their sturdy designs work well for big air and multiple types of bikes.
These ramps are highly adjustable and extremely portable. They can be set up in a variety of positions that lend themselves well to experimental riders.
Landwave ramps are, by far, the most portable ramps that you can buy. These are molded from plastic, which makes them as lightweight as possible. They are, however, surprisingly durable.
MTB Hopper ramps are the pinnacle of durability and design. These ramps are also quite expensive, so be aware of that before you make your final purchase.
Hopefully, you are leaving this guide with all the knowledge you need to know how to build a bike ramp. Remember, don’t be afraid to change our plans to meet your jumping needs, no matter if you are building a ramp for the pavement, the dirt, or anywhere in between. No matter way, have fun, and be safe!
